Python "Hello Bot"
This tutorial will guide you through the process of creating a simple Python automation.
Prerequisites
- BotCity Account
- BotCity Studio SDK
- Python 3.7 or higher
Creating Your First Project
BotCity offers a template project which can be customized via a tool called cookiecutter.
Installing Cookiecutter
In order to use it we need first to install the cookiecutter Python package by running the following command on your command-line terminal:
python -m pip install --upgrade cookiecutter
After doing that you are ready to create your first Python automation using BotCity’s framework.
From Template to Project
With cookiecutter properly installed, it is time to make use of it and create a new project.
To create a new project using our template we will invoke the cookiecutter and provide as argument the URL in which the templates from BotCity is located:
The system will prompt you with a couple of answers in order to properly create your project.
- Once prompted for project_type answer with
1for Desktop and press enter; - For bot_id type
HelloBotand press enter;
After going through the process above you will now have a new folder named HelloBot.
Success
Congratulations, you now have a project with BotCity’s Python framework. 🏆
Let’s take a deeper look into it.
Exploring the Project
Under your project folder HelloBot you will have the following structure:
HelloBot
├── bot.py       <- Here is where you will develop your bot code.
├── resources    <- Folder containing resources useful for the Bot.
├── build.bat        <- Batch script to generate the package.
├── build.ps1        <- PowerShell script to generate the package.
├── build.sh         <- Shell script to generate the package.
├── requirements.txt <- File describing the python dependencies for your Bot.
└── HelloBot.botproj <- File used to load the project on BotStudio.
Note
It may seem like a lot of files and folders but here are the most important ones:
- bot.py: Change this file and add here the code for your bot.
- resources: Add into this folder files to be used with your bot such as images, spreadsheets and etc.
- requirements.txt: Change this file and add all external dependencies that are used in the code.
Great!
All this information is great but it is time to see some action.
Let’s test this shiny new Bot locally. 🦾🤖
Testing Your Project Locally
To test your project locally, let's first install the Python dependencies that are being used in the project.
Using the command-line tool, access the HelloBot folder which we described above.
Installing the Project
From this folder, run the command below to install the dependencies defined in the requirements.txt file:
This command will produce a lot of output which means that all dependencies such as botcity-framework-core, and others are being installed.
Once this process is complete, your project is ready to run.
Running the Bot
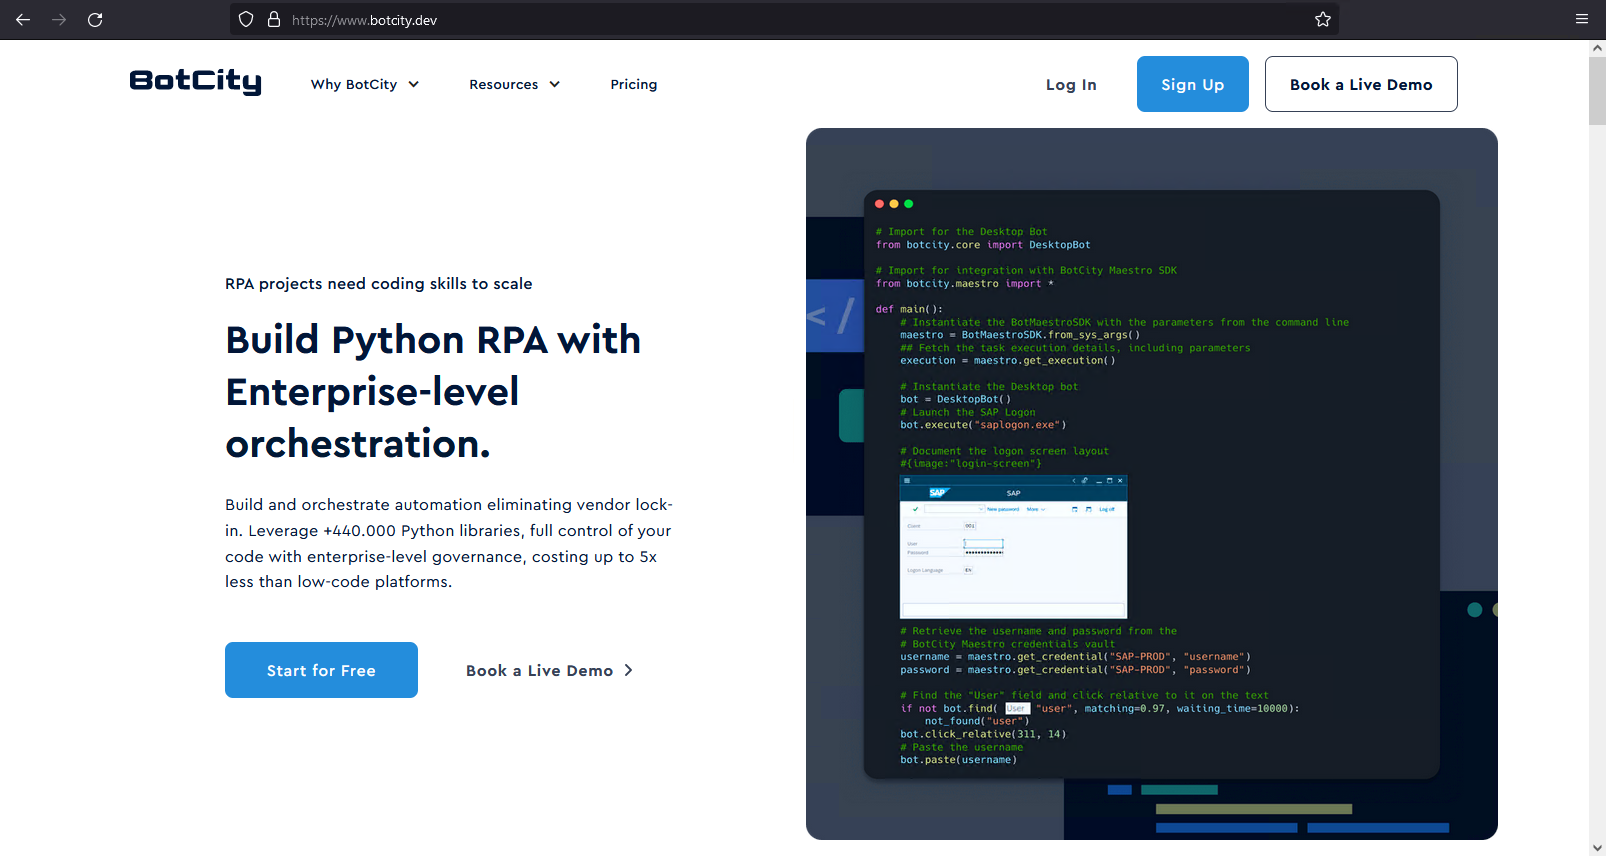
Our template project runs a very simple automation. It opens up your default web browser and loads BotCity’s website.
Using the open terminal inside the project folder, you can run your HelloBot automation with the following command:
Tip
You can also use your favorite IDE to run your project locally.
Here is a screenshot of the expected result:
🌟 Excellent 🌟
You are now ready to start creating automations using the BotCity’s Python Framework.
Conclusion
Under this tutorial you learned:
-
The dependencies required to develop automations using BotCity’s Python framework and how to get them installed.
-
How to create new Bot projects using cookiecutter and BotCity’s template.
-
How to install and run your new Bot project locally.
Have fun automating 🤖
Next Steps
Now it is time to load your project with BotCity Studio and start creating your automations with Computer Vision and all the productivity offered by our tool.