Runner Setup
In the following sections, we will see more details on how to install and configure a Runner in the execution environment.
BotCity Orchestrator
The allocation and configuration of the Runner must be done directly in the execution environments.
Learn more at:
Execution Environment
After installing the BotCity Studio SDK you will have the option to perform a Runner Setup.
At this stage, you can allocate the Runner created in the BotCity Orchestrator to your execution environment, following these steps:
- Access the execution environment
- Look for the folder where
BotCity Studio SDKwas installed - Run the
wizard-X.Y.Zfile - Click the
Setup Runnerbutton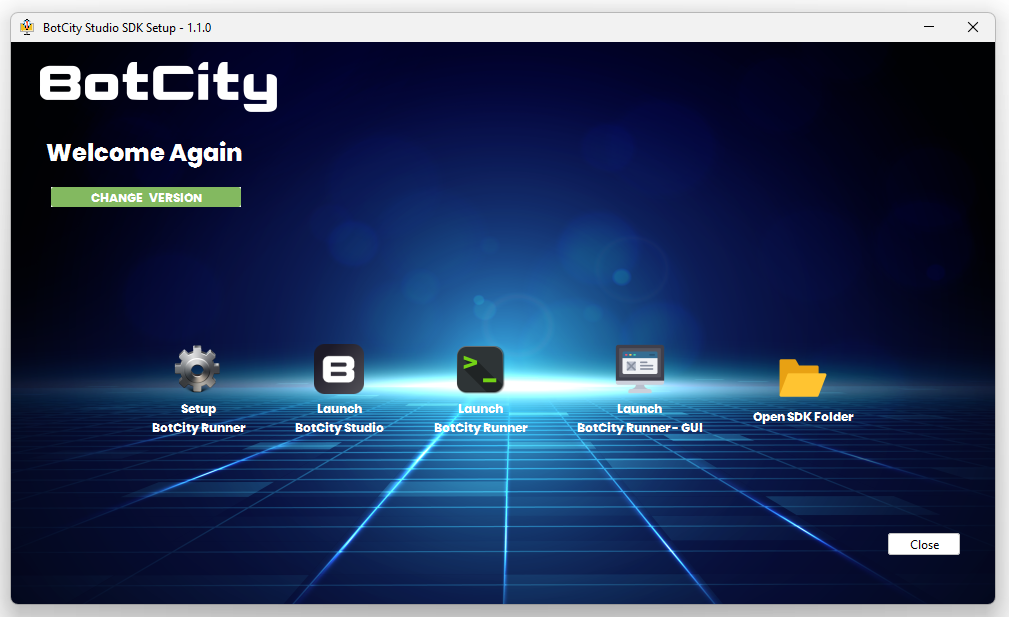
- Follow the steps guided by the
Wizard:- Select the server, for example:
https://yourcompany.botcity.dev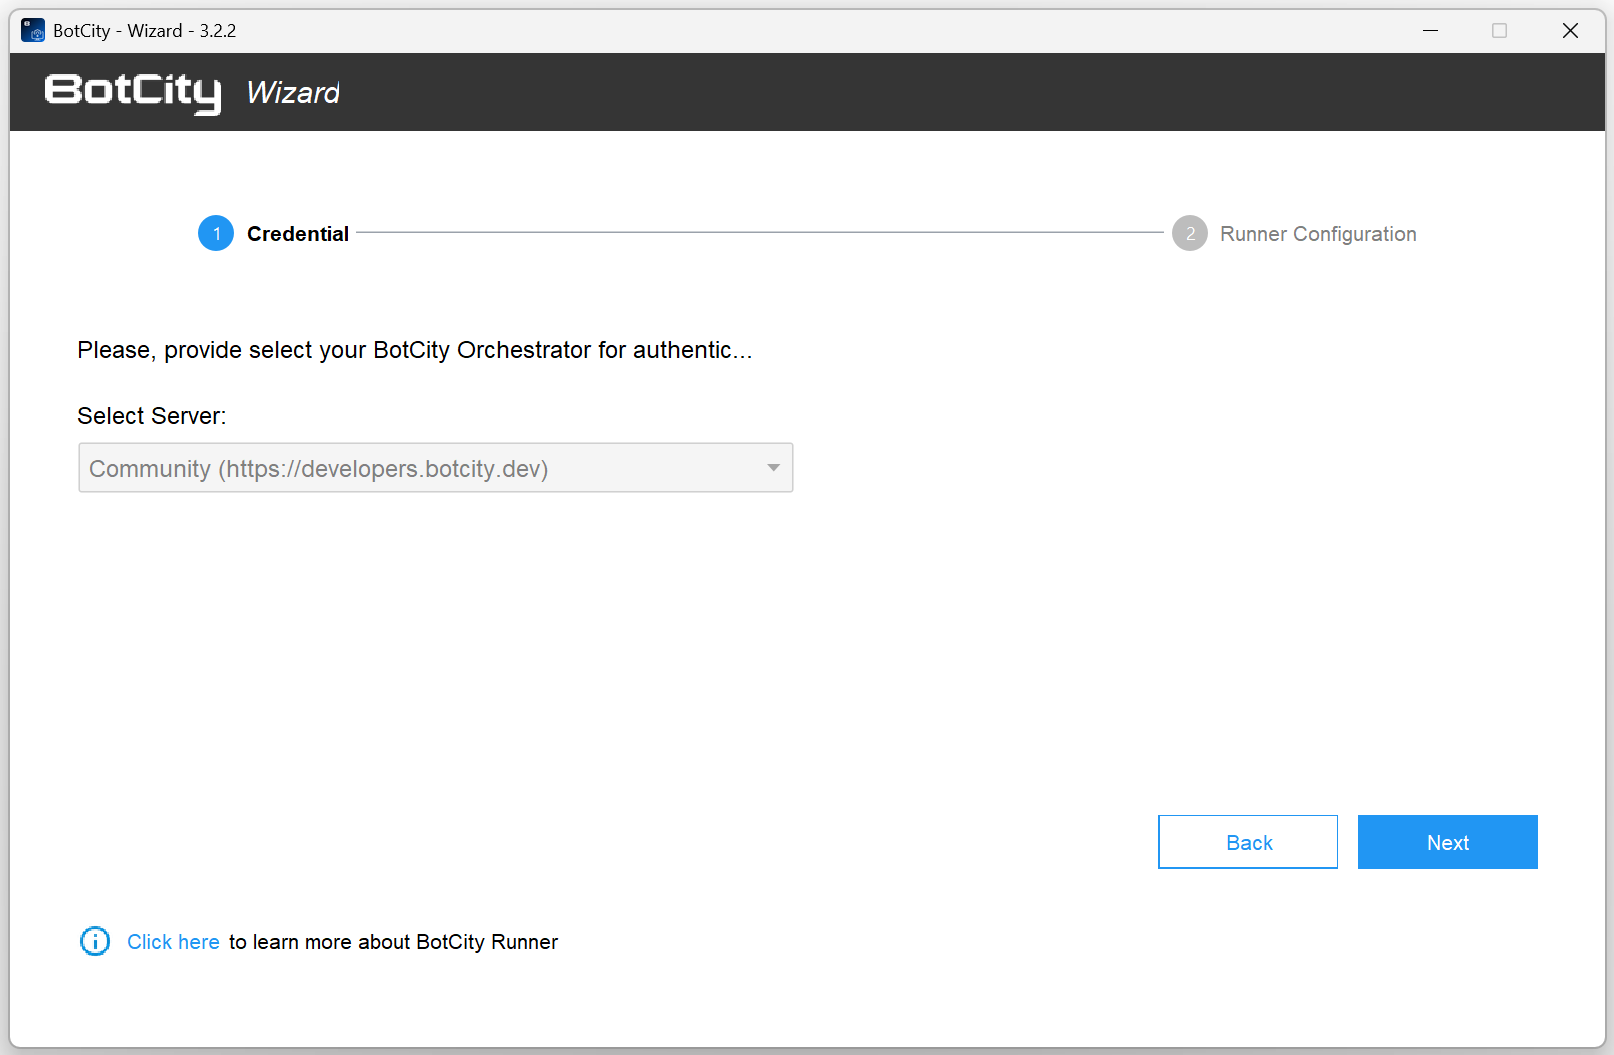
- Click the
I already have a Runnerbutton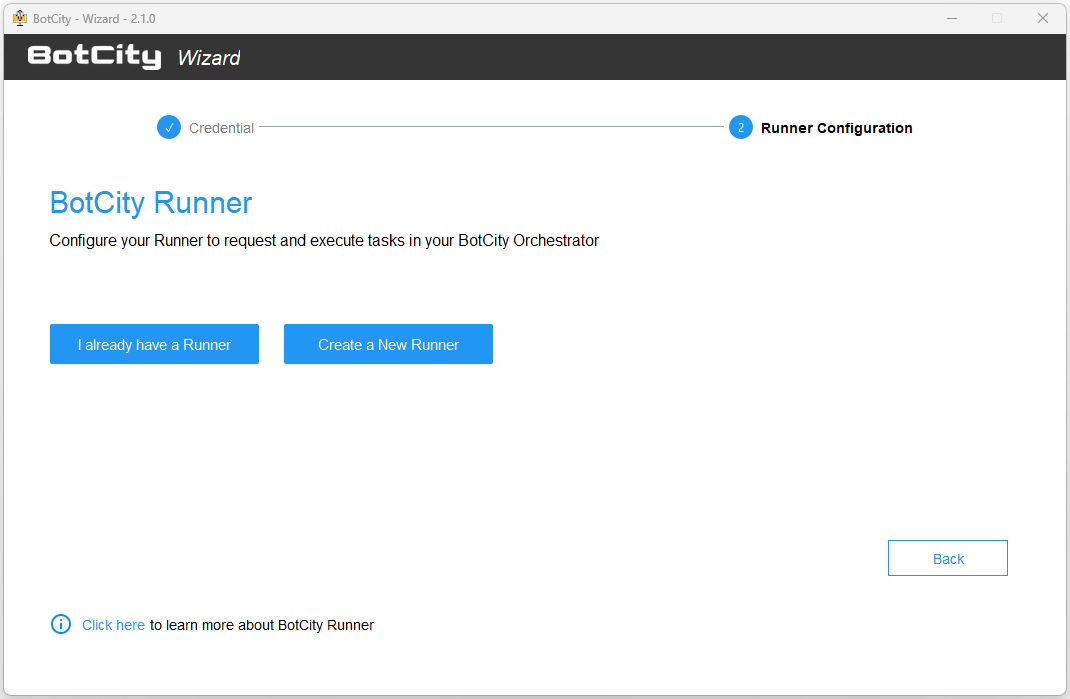
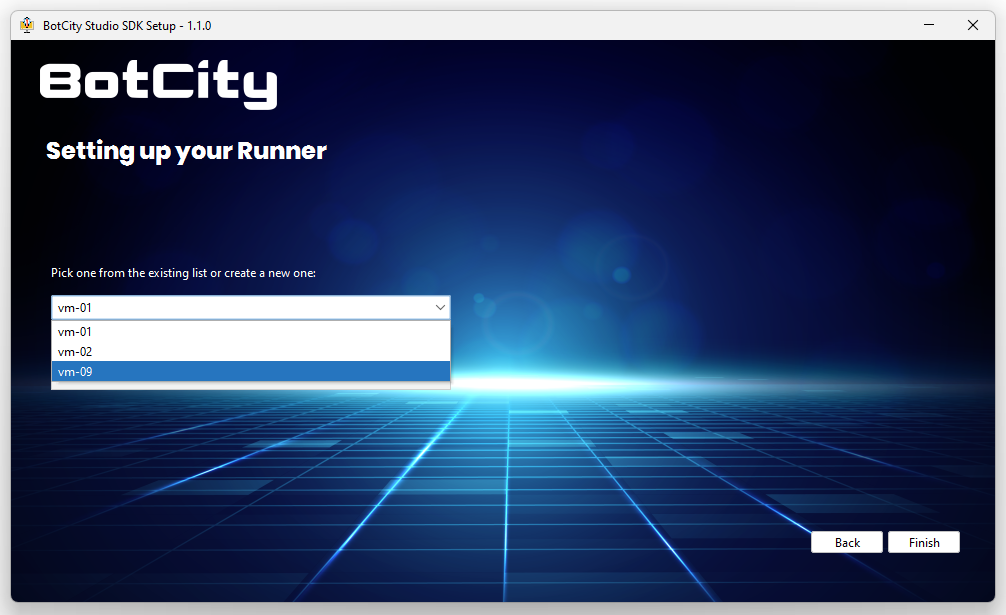
- Select from the list of available Runners in the Orchestrator
- Select the server, for example:
Once completed, your Runner is configured in the execution environment and ready to start.
Create Runner in Wizard
You can also create a Runner directly during the Setup Runner step by clicking the Create a New Runner button.
When you create the Runner in the Wizard, it will automatically be created in the BotCity Orchestrator.
Customizing Runner Configuration
Configuration File
The Runner configuration is defined by the information in the conf.bcf file, located in the conf folder where the SDK was installed.
You can see more details about the configuration file through this link.
The BotCity Studio SDK configuration file has some configurations specific to the BotCity Runner.
Some of these configurations are already included by default at the time of BotCity Studio SDK installation.
In addition to the default configurations, you can include custom configurations as needed.
See the table below for more details about the additional available configurations that can be used in the Runner configuration file.
| Configuration | Required | Default | Description |
|---|---|---|---|
| machineId | Yes | The unique identifier of the BotCity Runner instance. | |
| javaParams | No | JVM parameters to be passed to automation execution. | |
| pythonBinary | No | python | The Python binary to be used, such as python3, py or the full path to the binary |
| logScreen | No | true | If set to 'true', enables screen sharing with the BotCity Orchestrator for GUI-based automations. |
| logApplication | No | true | If set to 'true', enables log sharing with BotCity Maestro. |
| logTelemetry (from version 2.7.0) | No | false | If set to 'true', enables system telemetry sharing with the BotCity Orchestrator, such as CPU %, memory usage, etc. |
| startup | No | The path to a startup script to be executed as soon as the BotCity Runner starts its execution. | |
| beforeTask (from version 2.7.0) | No | The path to a script to be executed before each task. | |
| debugEnabled (from version 2.7.0) | No | false | Whether or not to produce more detailed log output. |
| ignoreSSL (from version 2.7.0) | No | false | Whether or not to ignore SSL issues when communicating with BotCity Maestro. This is useful when your network intercepts HTTPS connections. |
Info
In the conf.bcf file, you should include the desired configuration name and the value it will receive, for example:
Starting the Runner
The BotCity Runner can be started in several ways, see below.
GUI Execution
Simply run the BotRunner-gui script available in your BotCity Studio SDK or use the -gui parameter if you call the botrunner.jar file manually.
In this case, you must click the START button for the Runner to establish connection with the Orchestrator and start processing tasks.

Headless Execution (without GUI)
Simply run the BotRunner script available in your BotCity Studio SDK. In this case, only a terminal for the Runner process will be started.
Execution Using Container
It is possible to run the Runner in containers using our images, see more details in the containers section.