Web Automations and SSL Authentication
Some websites may require SSL authentication for access. We can often see this requirement on government websites.
You can easily overcome this issue by configuring the SSL certificate on your operating system but this limits the number of different credentials that you can use to run your automation scripts in parallel on the same machine.
Here we will describe a method to overcome this issue using Firefox and converting the SSL certificate into an NSS Certificate database which can be used by Firefox to authenticate with the website.
Warning
Make sure to use the Firefox browser, as other browsers do not support the solution below.
Prerequisites
In order to convert the SSL certificate into a NSS Certificate database you will need to install the NSS Tools.
You can download the pre-built binaries for the NSS Tools from the BotCity Files repository.
After downloading the file, extract the contents into a folder on your computer.
While you can build the NSS Tools from source, it is recommended that you use your distribution's package manager to install it.
Here is how to do it with the most common Linux distributions:
For all other distributions, please check your package manager for the proper package name.
The easiest way to obtain the NSS Tools for macOS is to use the Homebrew package manager.
Converting the SSL Certificate into a NSS Certificate Database
After the NSS Tools have been installed, to convert an SSL certificate into an NSS Certificate database, we will need the p12 or pfx file and the password associated with it.
The command that we will use to convert the certificate into a database that can be used by Firefox is the pk12util command. You can find more information about this command in the pk12util manual page.
Here is the command structure:
pk12util -i <p12 or pfx path file> -d <path to save files> sql:. -W <certificate password> -K <slot password>
Make sure to replace <p12 or pfx path file> with the path to the p12 or pfx file, set a folder to save the files by passing the path to <path to save files> and replacing <certificate password> by the password associated with the certificate.
Important
Using the Windows operating system, be sure to open the terminal in the same place where the NSS tool is for what does not occur error in the command.
The above command will create a database file in the directory specified in the <path to save files> called cert9.db.
Using the NSS Certificate Database with BotCity's Web Framework
Now that we have an NSS Certificate database, we can use it with our Firefox browser.
For that, we will leverage the options property of the WebBot class and configure the user data directory parameter to point to the folder in which the cert9.db file is located.
That will make it that the browser will copy the contents of this directory into a temporary directory on the system and use that as the user data directory.
Here is what it would look like:
# For Firefox
from botcity.web.browsers.firefox import default_options
# Import for the Web Bot
from botcity.web import WebBot, Browser, By

...
certificate_db_path = "<your folder with the cert9.db file>/"

bot = WebBot()

# Get the default options for the Firefox browser
options = default_options(headless=bot.headless, user_data_dir=certificate_dir)

# Configure the options to be used by the WebBot
bot.options = options

...
// For Firefox
import dev.botcity.framework.web.browsers.FirefoxConfig;

...
String certificateDbPath = "<your folder with the cert9.db file>/";

// Get the default options for the Firefox browser
FirefoxConfig firefoxConfig = new FirefoxConfig();
MutableCapabilities options = firefoxConfig.defaultOptions(
        isHeadless(), // Setting headless mode (using default)
        getDownloadPath(), // Setting the download folder path (using default)
        certificateDbPath // Setting the user data directory
);

// Configure the options to be used by the WebBot
setOptions(options);

...
Example: Using SSL Certificate to Access the badssl.com Website
badssl.com offers a set of test pages including one with SSL client certificate authentication.
Obtaining the Certificate
You can download the certificate from the badssl.com website or from the table below.
| Download | Password | Format |
|---|---|---|
| badssl.com-client.p12 | badssl.com | PKCS #12 |
Important
Make sure to download the PKCS #12 file and not the PEM file.
Preparing the NSS Certificate Database
With the certificate downloaded, we can convert it into an NSS Certificate database.
Open a terminal on the folder where the certificate is located and run the following command:
Warning
Ensure you keep the -k parameter receiving an empty string "", as in the example above. Spaces or values defined in this parameter may result in unexpected behavior, where even passing the certificate via the browser, continues to request the password through a system pop-up.
Important
Using the Windows operating system, be sure to open the terminal in the same place where the NSS tool is for what does not occur error in the command.
You will end up with the following files in the directory defined in <path to save files>:
cert9.db: This is the NSS Certificate database that will used by Firefox.key4.db: This is the NSS Key database that will used by Firefox.pkcs11.txt: This is the NSS PKCS #11 configuration file that will used by Firefox.badssl.com-client.p12: This is the certificate that was downloaded.
Using the NSS Certificate Database
We will not go into the details of how to create the WebBot project as it is already covered in the Python and Java tutorials.
So here we will assume that you already have a standard WebBot project set up and ready to use.
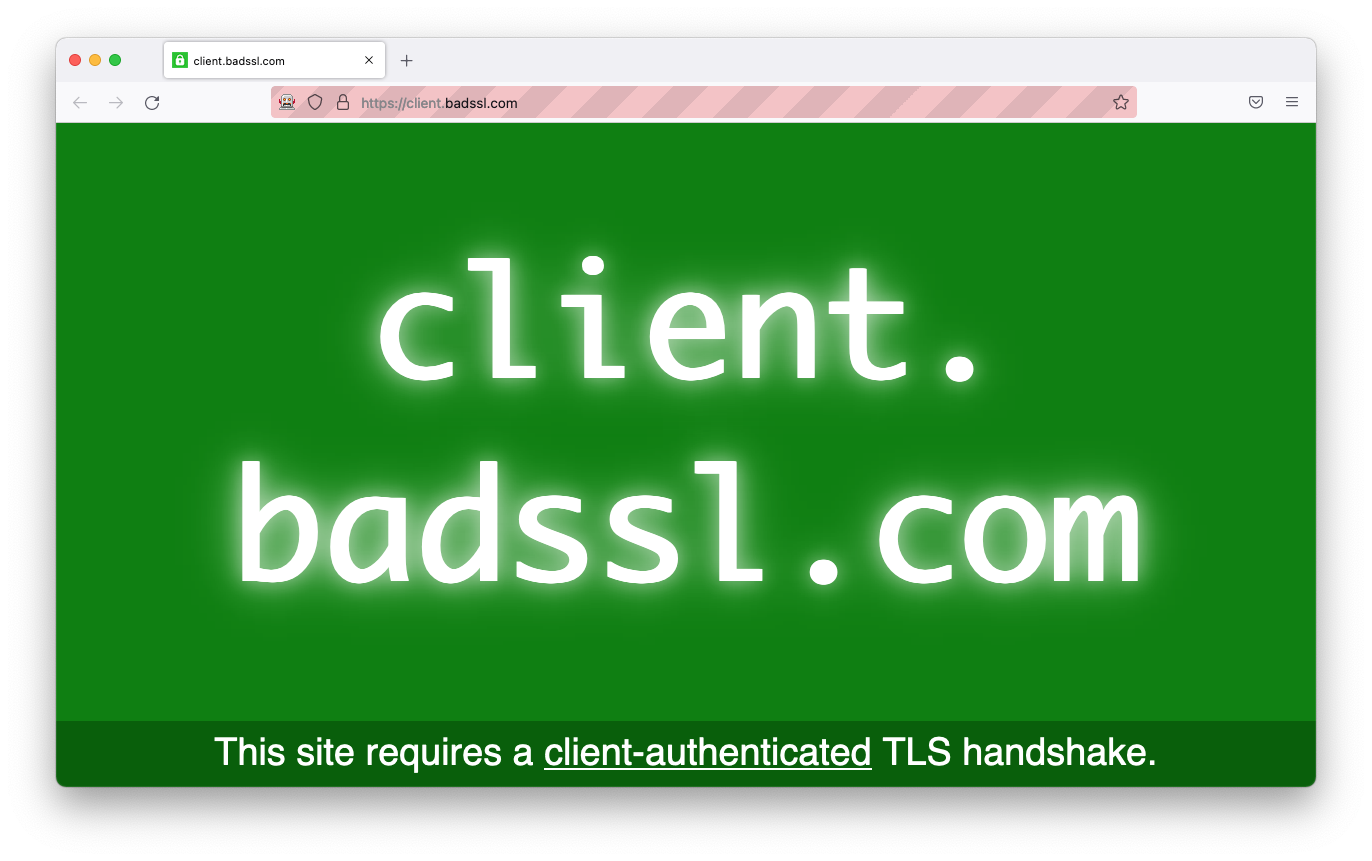
Let's start by opening the badssl.com website for this certificate authentication test.
Add a call to the browse method in your bot pointing to https://client.badssl.com/.
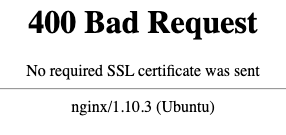
If you execute your WebBot as is, without the changes to use the NSS Certificate database, you will receive the following error message.
So now, let's apply the changes as described above to set up our WebBot with the certificate.
Your code should look similar to this:
from botcity.web import WebBot, Browser
from botcity.web.browsers.firefox import default_options


def main():
    bot = WebBot()

    # Configure whether or not to run on headless mode
    bot.headless = False

    # Switch to Firefox
    bot.browser = Browser.FIREFOX

    # Uncomment if you need to override the WebDriver path
    # bot.driver_path = "</geckodriver>"

    # The path to our certificate database folder
    certificate_db_path = "<your folder with the cert9.db file>/"

    # Get the default options for Firefox with the certificate
    # database folder as the user data directory
    options = default_options(
        headless=bot.headless,
        user_data_dir=certificate_db_path
    )

    # Set the options for the browser
    bot.options = options

    # badssl.com client certificate test website.
    bot.browse("https://client.badssl.com/")

    # Wait 5 seconds before cleanup
    bot.sleep(5000)

    # Stop the browser and clean up
    bot.stop_browser()

def not_found(label):
    print(f"Element not found: {label}")

if __name__ == '__main__':
    main()
import dev.botcity.framework.bot.WebBot;
import dev.botcity.framework.web.browsers.Browser;
import dev.botcity.framework.web.browsers.FirefoxConfig;
import org.openqa.selenium.MutableCapabilities;

...
@Override
public void action(BotExecution botExecution) {

    try {
        // Configure whether or not to run on headless mode
        setHeadless(false);

        // Switch to Firefox
        setBrowser(Browser.FIREFOX);

        // Uncomment if you need to override the WebDriver path
        // setDriverPath("<>/geckodriver.exe")

        // The path to our certificate database folder
        String certificateDbPath = "<your folder with the cert9.db file>/";

        // Get the default options for Firefox with the certificate
        // database folder as the user data directory
        FirefoxConfig firefoxConfig = new FirefoxConfig();
        MutableCapabilities options = firefoxConfig.defaultOptions(
                isHeadless(), // Setting headless mode (using default)
                getDownloadPath(), // Setting the download folder path (using default)
                certificateDbPath // Setting the user data directory
        );
        // Set the options for the browser
        setOptions(options);

        // badssl.com client certificate test website
        browse("https://client.badssl.com/");

        // Wait 5 seconds before cleanup
        wait(5000);

    } catch (Exception e) {
        e.printStackTrace();
    } finally {
        // Stop the browser and clean up
        stopBrowser();
    }
}
...
Once you have finished the code, you can run the bot and you will see the following message indicating that the certificate authentication was successful: