Users and Groups
Add new users, assign roles, set permissions, and link them to groups.
Inviting New Users to the BotCity Orchestrator Workspace
You can easily invite new users to be part of your BotCity Orchestrator workspace.
To invite a new user, click the Invite User button and fill in the required fields.
Here is an example of a form for inviting a user:
How to Invite New Users
-
After clicking “Invite Users”.
-
Enter the users’ email addresses that you want to invite.
- You can send invitations to up to 100 users at once.
- All entered emails will receive the same roles both in the Organization and in the Products.
- To assign different roles, send separate invitations.
- Choose whether the user(s) will have access to the Organization.
Available roles:- Administrator
- Manager
- No access
-
Define access to Products and their respective roles.
For each subscribed product, select the role the user will have:Orchestrator
- Administrator
- Developer
- Operator
Opportunity Hub
- Administrator
- Developer
- Operator
Insights
- Administrator
- Developer
If you do not want to grant access to a product, select the “No access” role — the user will not be able to access that product.
Info
- Role: This is the user's function, and you can choose Administrator, Manager, Operator, or Developer. See more details about the available features for each role in the table below.
- Email: The email address of the user to be invited.
After filling in the data, click the Send Invite button and the new user will be invited to access this workspace, receiving in the registered email a temporary password that can be changed after the first access to BotCity Orchestrator.
User roles
The assignment of roles in BotCity products allows you to control the level of access and permissions each user will have within the platform.
Organization
The Organization section is available only for the roles of Manager and Administrator.
| Administrator / Manager | |
|---|---|
| Preferences | |
| Users and Groups | |
| Repositories | |
| Accounts and Plans | |
| Audit |
Important!
The Manager role has access to all functionalities, just like the Administrator role.
However, the only limitation is that the Manager role cannot invite, revoke access, or delete users from the workspace. These functions remain exclusive to the Administrator role.
Opportunity Hub
The Opportunity Hub module is available for all roles.
| Administrator / Manager | Developer | Operator | |
|---|---|---|---|
| Variable Configuration | View Only | ||
| Submission Configuration | |||
| Create Opportunity | |||
| Share Entry Link | |||
| Share Opportunity Link | |||
| Advance Opportunity Stages | (Prioritized or Developing) | ||
| Revert Opportunity Stages | |||
| Create Automation | |||
| Opportunity Log |
Orchestrator
The BotCity Orchestrator module is available for all roles.
| Administrator / Manager | Developer | Operator | |
|---|---|---|---|
| Dashboard | |||
| Datapool | |||
| Tasks | |||
| New Task | |||
| Easy Deploy | |||
| Alerts | View Only | ||
| Errors | View Only | ||
| Execution Log | View Only | ||
| Result Files | View Only | ||
| Runners | View Only | ||
| Automations | View Only | ||
| Bots | View Only | ||
| Schedules | |||
| Credentials | |||
| Download Studio | |||
| Developer Environment | |||
| Runner Settings | |||
| Integrations |
Insights
The Insights module is available for the roles of Administrator, Manager, and Developer.
| Administrator / Manager | Developer | |
|---|---|---|
| Dashboard | ||
| Data Input | ||
| Runner Data | ||
| Reports | ||
| Integrations |
Deleting users
To delete a user, click the icon  , select the Delete option and then confirm the action.
Deleting users in bulk
BotCity Orchestrator also has the feature of deleting multiple users in just one action. Through the Bulk Actions button, it is possible to access the option:
- Delete in bulk: where you will be asked to select the users to be deleted.
Editing users
To edit a user, just click on the icon and select the Edit option to access the page below:
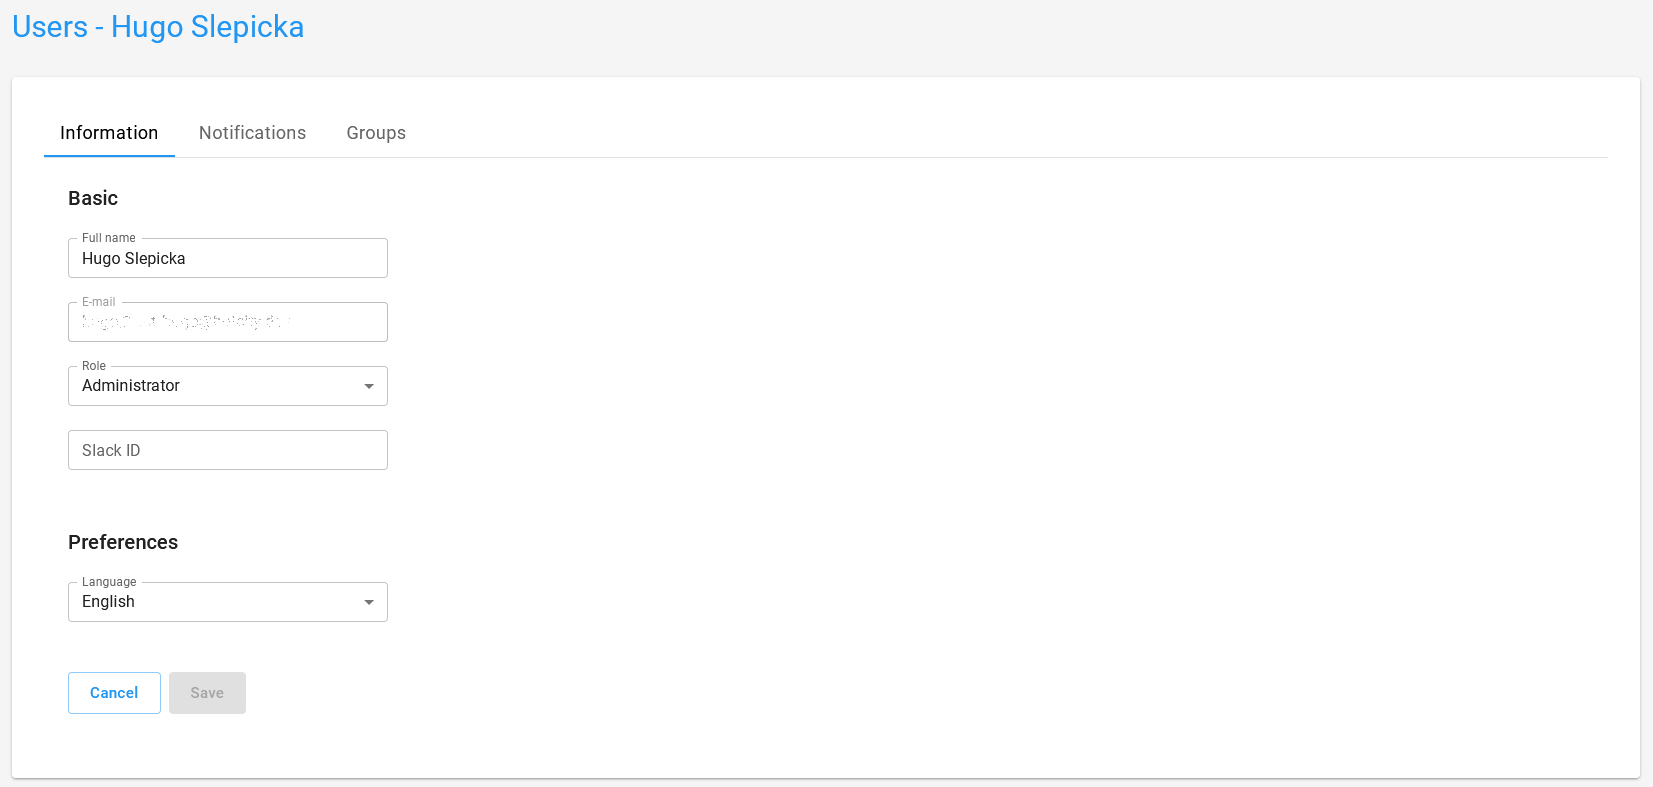
Information
In the Information tab, you can view basic user data.
Administrator users can also edit the full name, role within the platform, Slack ID, and default language.
Tip
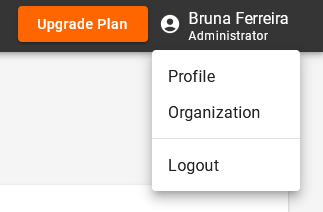
To change your user's access password on BotCity Orchestrator, go to your user information through the Profile menu in the upper right corner.
Notifications
You can configure a user to receive notifications based on BotCity Orchestrator events.
The Orchestrator can send emails, as well as messages in Slack and Microsoft Teams channels for each enabled notification.
Here are the available events:
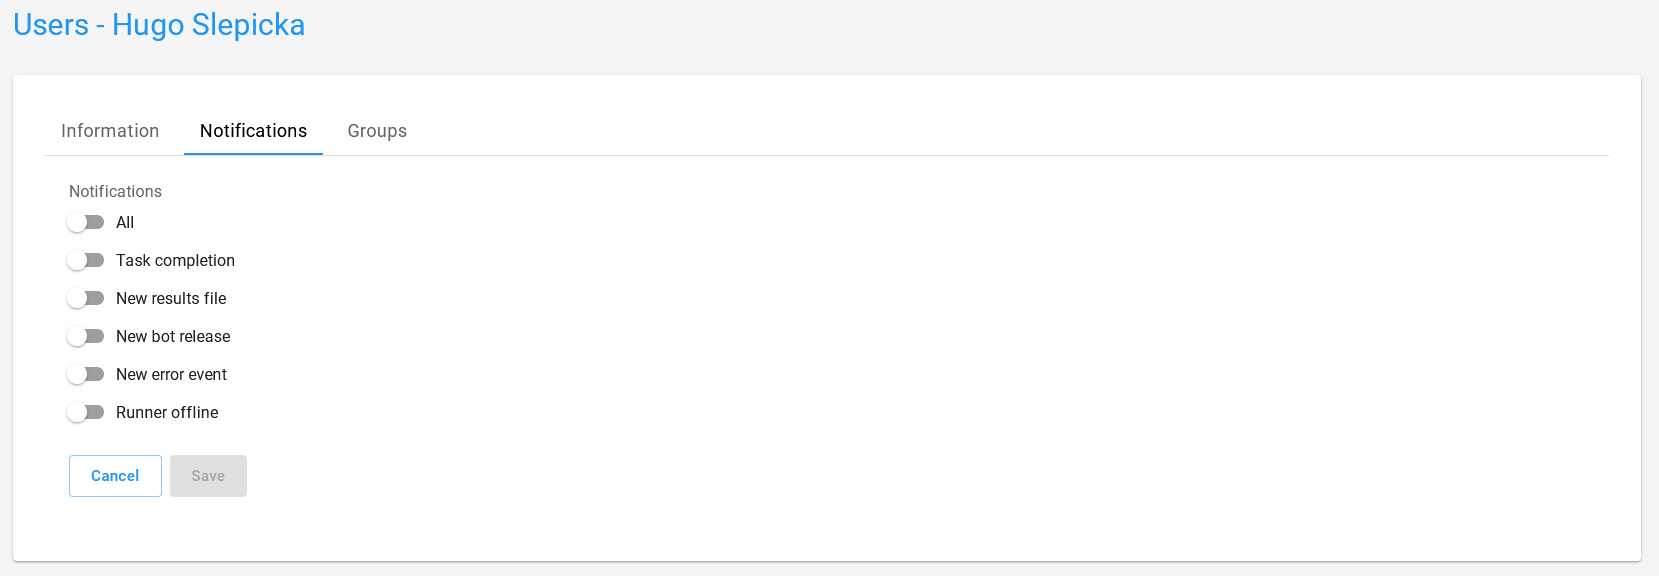
- All: all events defined below.
- Task completion: fired when a task is finished independent of the finish status.
- New result file: fired when a new result file is uploaded to BotCity Maestro.
- New bot release: fired when a new release version of a bot is configured.
- New error event: fired when an error is reported to BotCity Maestro.
- Runner Offline: fired when a Runner goes offline.
Each user or administrator can choose whether or not to receive each of the available notifications.
Info
Configure your integration with Slack and Teams using the Integrations Page.
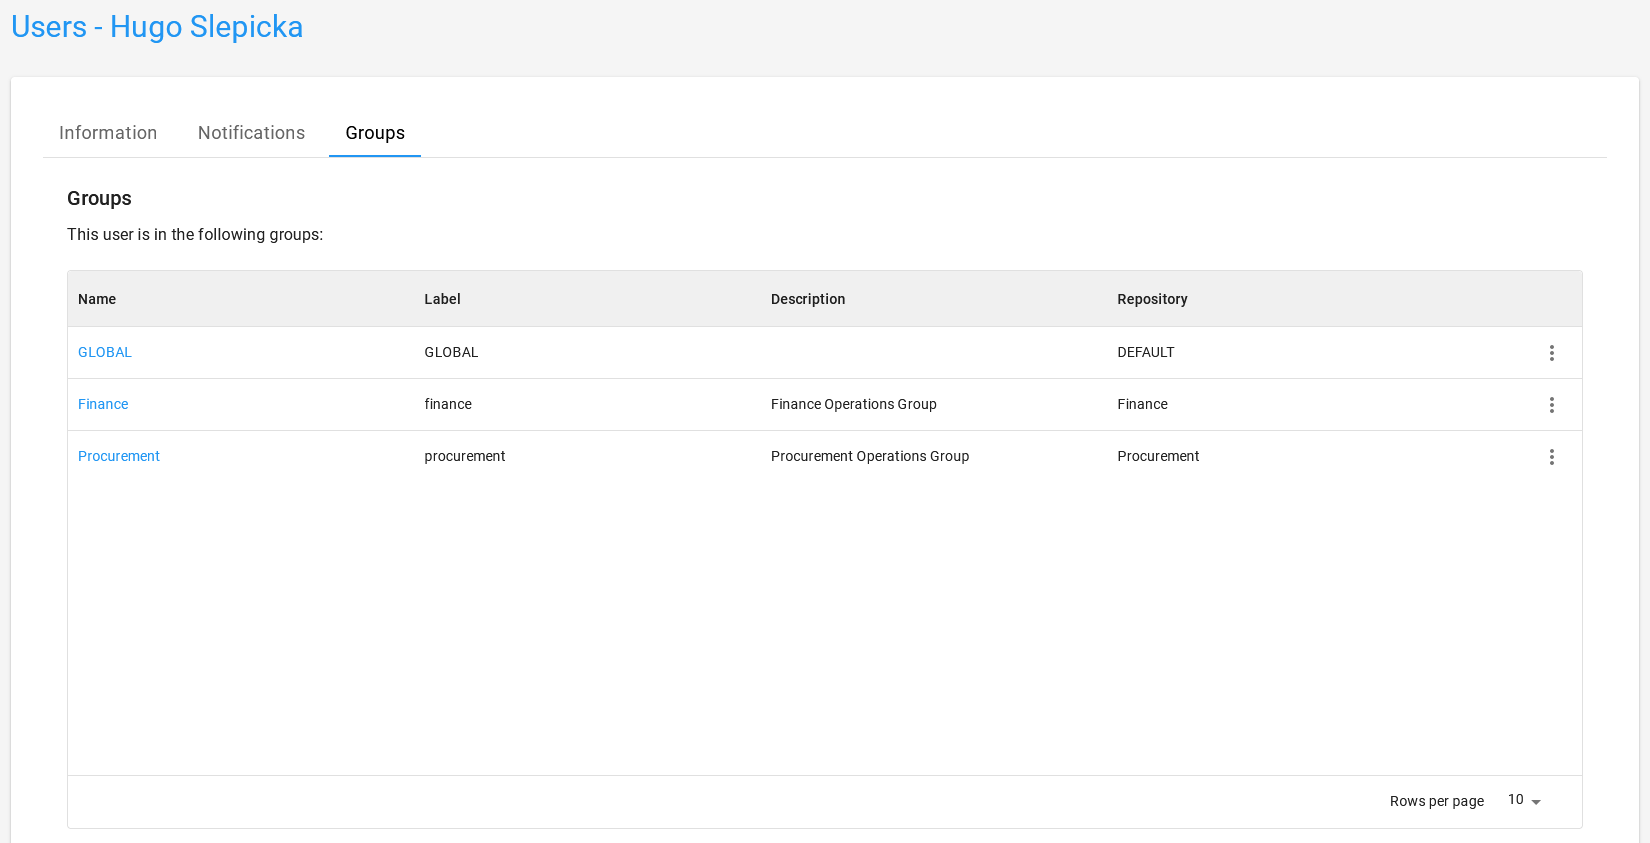
User groups
In the Groups tab, the workspace administrators can manage and view the groups a user has access to.
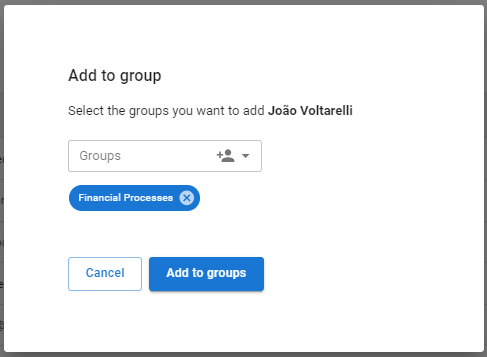
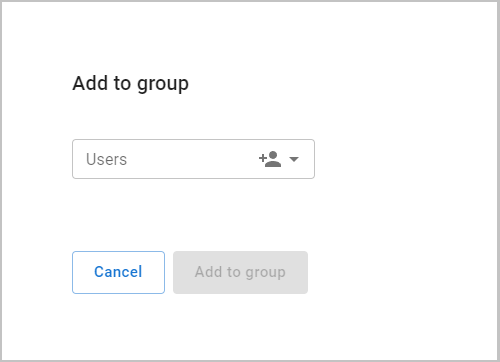
To add a user to a group, click the icon from a user and select the Add to group option, select the groups you want to that user, and press the Add to groups to confirm the action.
Adding users in bulk
BotCity Orchestrator also has the feature of adding multiple users to a specific group. Through the Bulk Actions button, it is possible to access the option:
- Add to group: where you will be asked to select users to be added to a group, and subsequently, the group to which the users should be added is requested.
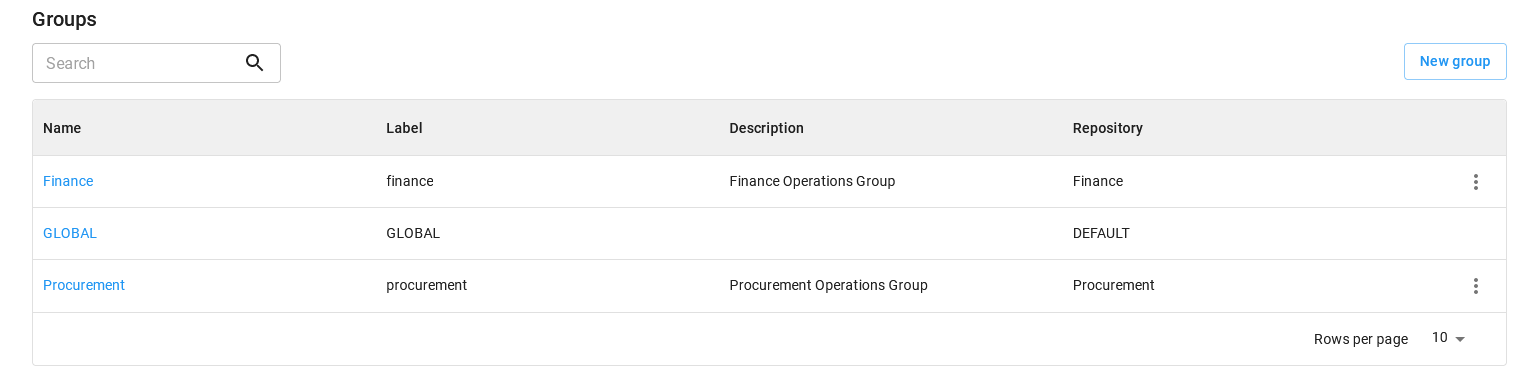
Groups
A user group can be considered a set of users with specific privileges to access and operate entities in BotCity Orchestrator.
In the Orchestrator, user groups can be created, enabling the management and direction of resources to a specific team, sector, or area of your organization.
In this way, each group will have access only to the resources that relate to their area, bringing more organization and productivity to the teams and automation flows.
Important
Every workspace created in BotCity Orchestrator will have a default group with the GLOBAL identifier.
This group cannot be edited or deleted. If new groups are not created in the workspace, all users will be directed to this default group.
Creating a user group
To create a group in BotCity Orchestrator, click New group and fill out the form below:
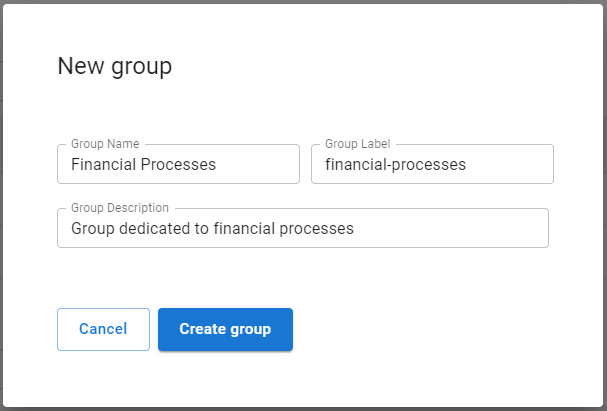
By confirming the action by clicking Create group, a new group will be created and added to the group list of this workspace.
Group information
Accessing the option Information through the icon from a specific group, you can get detailed information from the group, edit the group in question, add users to this group and also delete it:
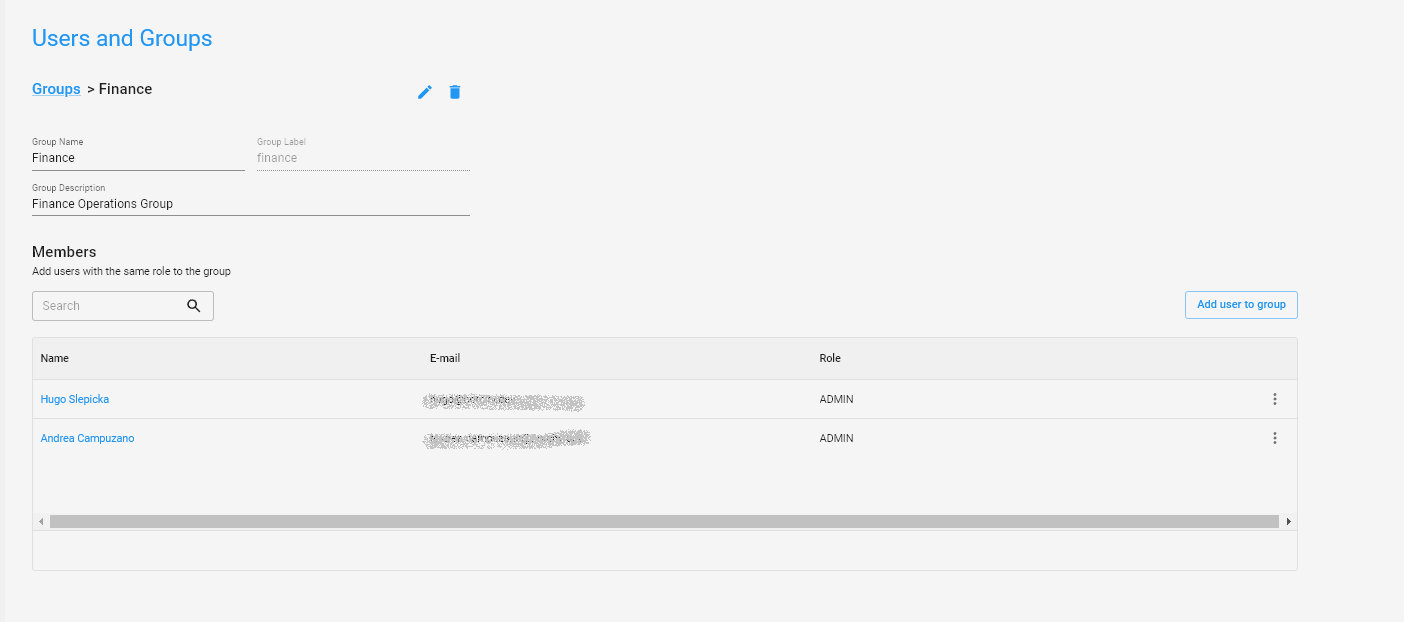
Adding a user to a group
On the screen containing the group information, we can add new users to this group by clicking Add user to group.
Once this is done, select all the users who will have access to the resources linked to this group.
Tip
See how to link platform resources only to specific groups in the Repositories section.