BotCity Studio SDK
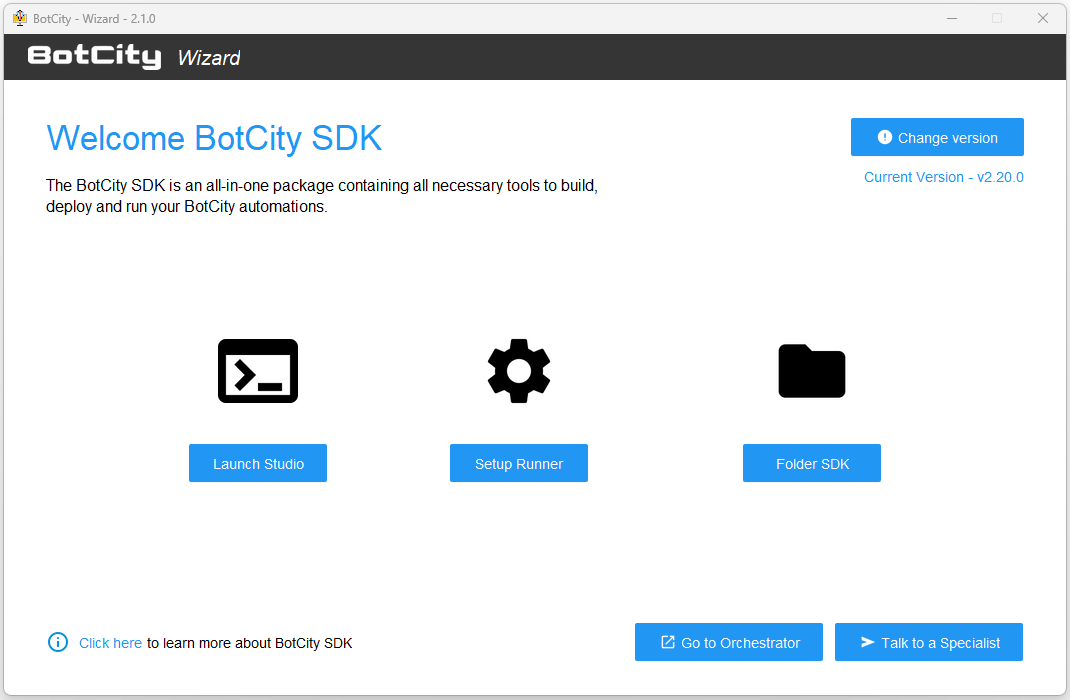
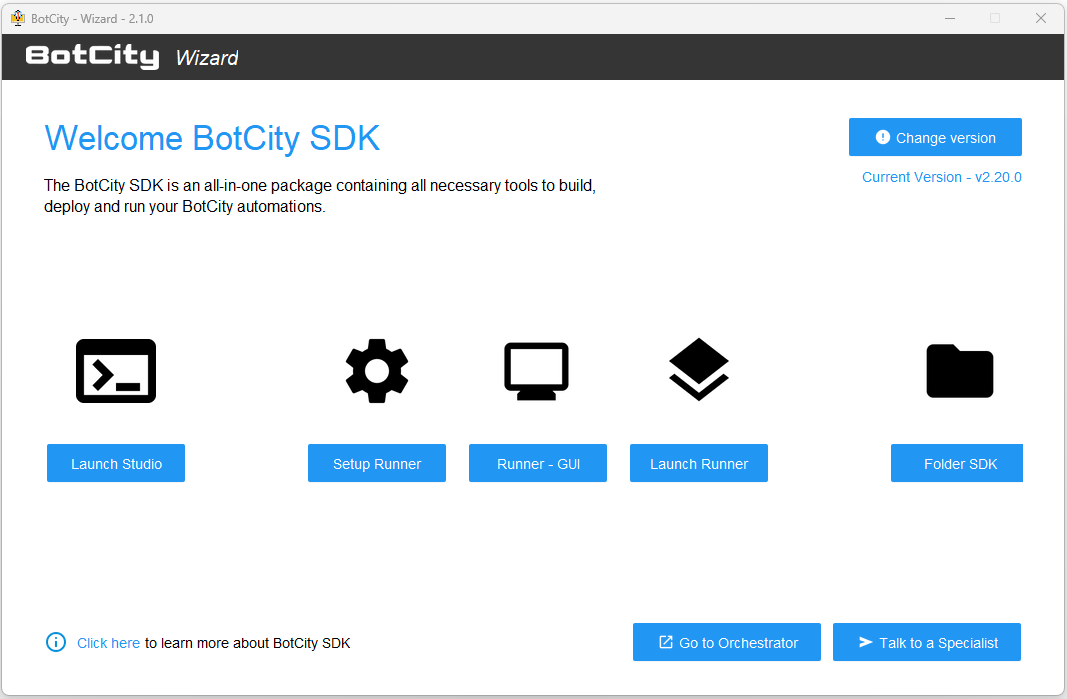
The BotCity Studio SDK is an all-in-one package containing all necessary tools to build, deploy and run your BotCity automations.
It includes the BotCity Studio, BotCity Runner and BotCity CLI (command line interface) tools.
The installation procedure for the BotCity Studio SDK is very simple and consist of only two steps:
- Download and Unpack the BotCity Wizard
- Follow the instructions on the screen
Download
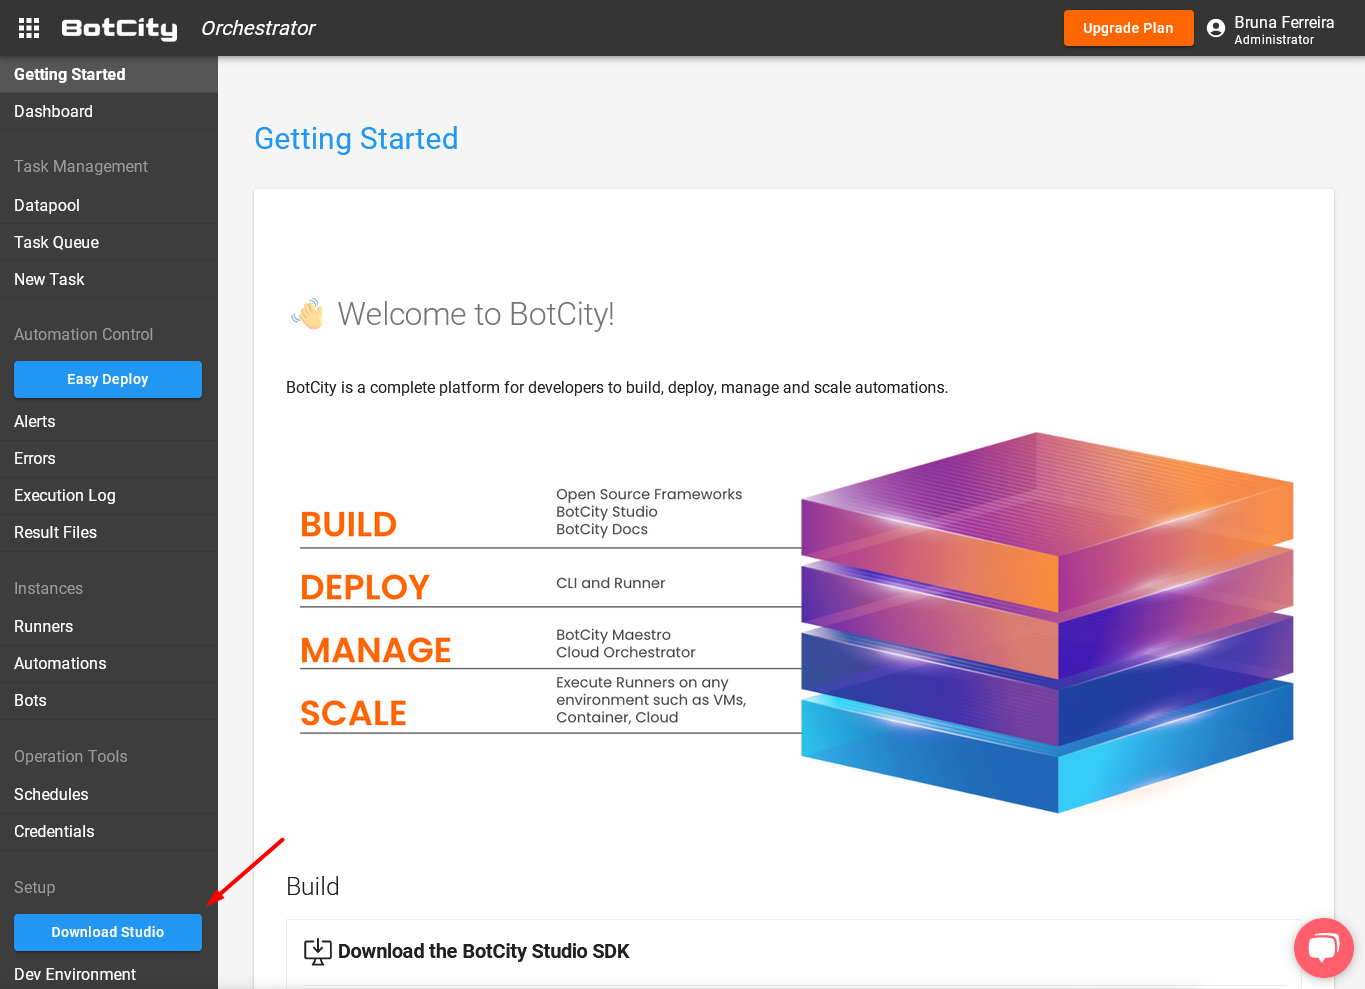
In order to download the Wizard, just log in on your Orchestrator workspace and click on Download Studio, in the Setup section.
Tip
You can also access the BotCity Studio download page through the Orchestrator's top left menu,
represented by the icon: 
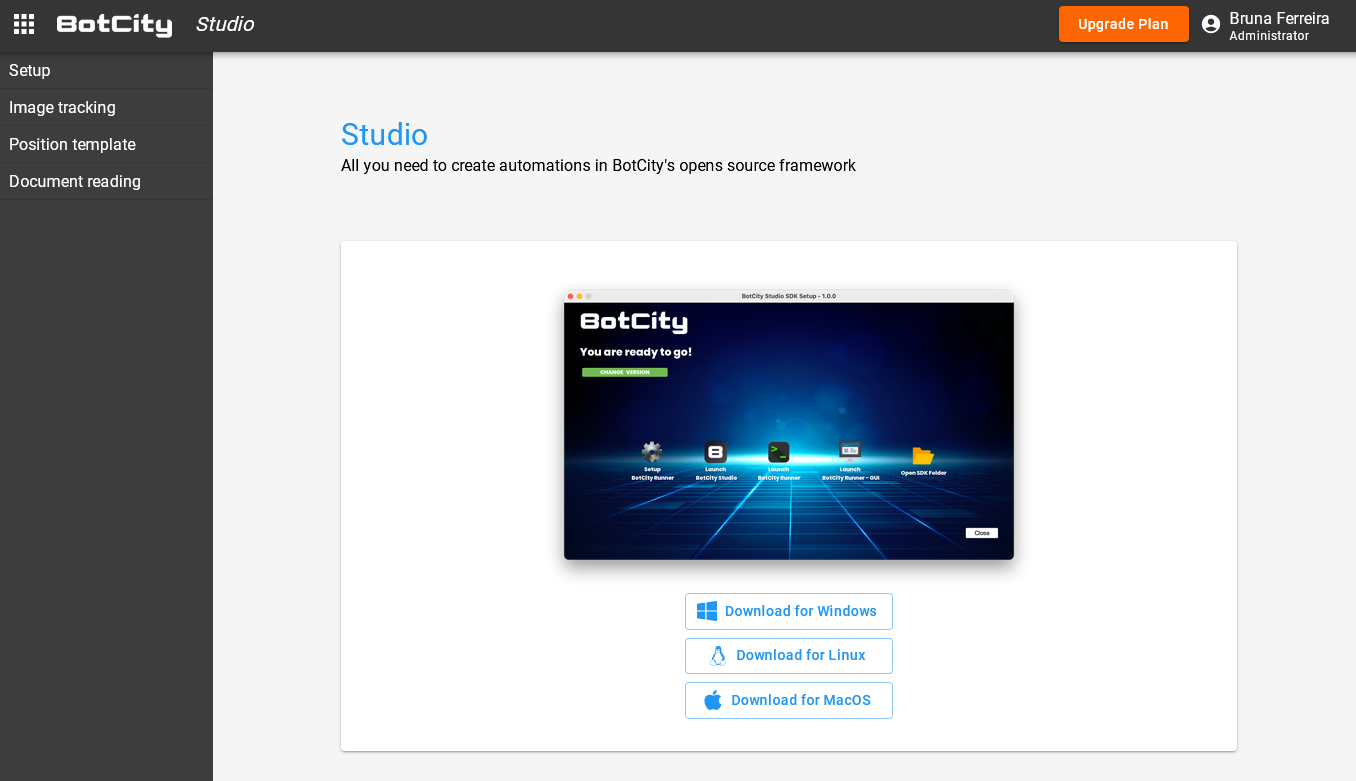
On the new page that opens, download the version compatible with your operating system.
Diagnostic Tool
The BotCity - Diagnostic tool accompanies the Wizard package, and its main objective is to validate whether your environment meets the prerequisites for using the BotCity Studio SDK.
This way, the tool will validate whether it is possible to install in your environment and also whether the BotCity tools will be able to establish a successful connection with the Orchestrator.
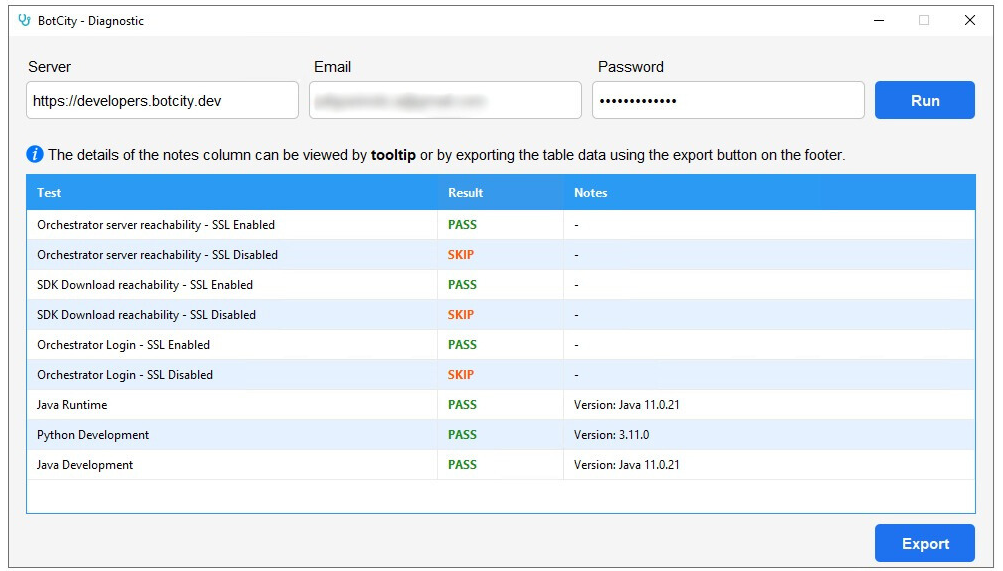
To diagnose your environment, run diagnostic.jar, provide the requested credentials, and press Run. With this, you will have a return similar to the one below:
Warning
If you receive a FAIL result in any connection test, you may be trying to install it in a blocking environment.
In this case, it is necessary to request the permissions described in this section from the responsible team.
In addition to connection information, BotCity - Diagnostic also checks the Python and Java versions of your environment.
If you observe a failure in one of these tests, check whether your environment meets the prerequisites to use the BotCity tools.
You can also export test results to a CSV file using the Export button.
Info
This is an entirely optional tool, you can use it if necessary or if you notice any impediment in installing or using the BotCity tools.
Installing
After the download is completed, extract the downloaded archive. There will be a file called wizard-X.Y.Z where X.Y.Z are the Wizard's version.
For the installation, we can choose between two options:
- Install via GUI (graphical interface)
- Install via command line (silent installation)
Installing via GUI (graphical interface)
Through the graphical interface, the Wizard will guide you through each step of the installation process.
Choose where to install
Warning
Please be aware that installing at locations such as C:\... could cause permissions issues.
Try to avoid such locations or please make sure to fix the permissions accordingly.
Authenticating with BotCity Orchestrator
Warning
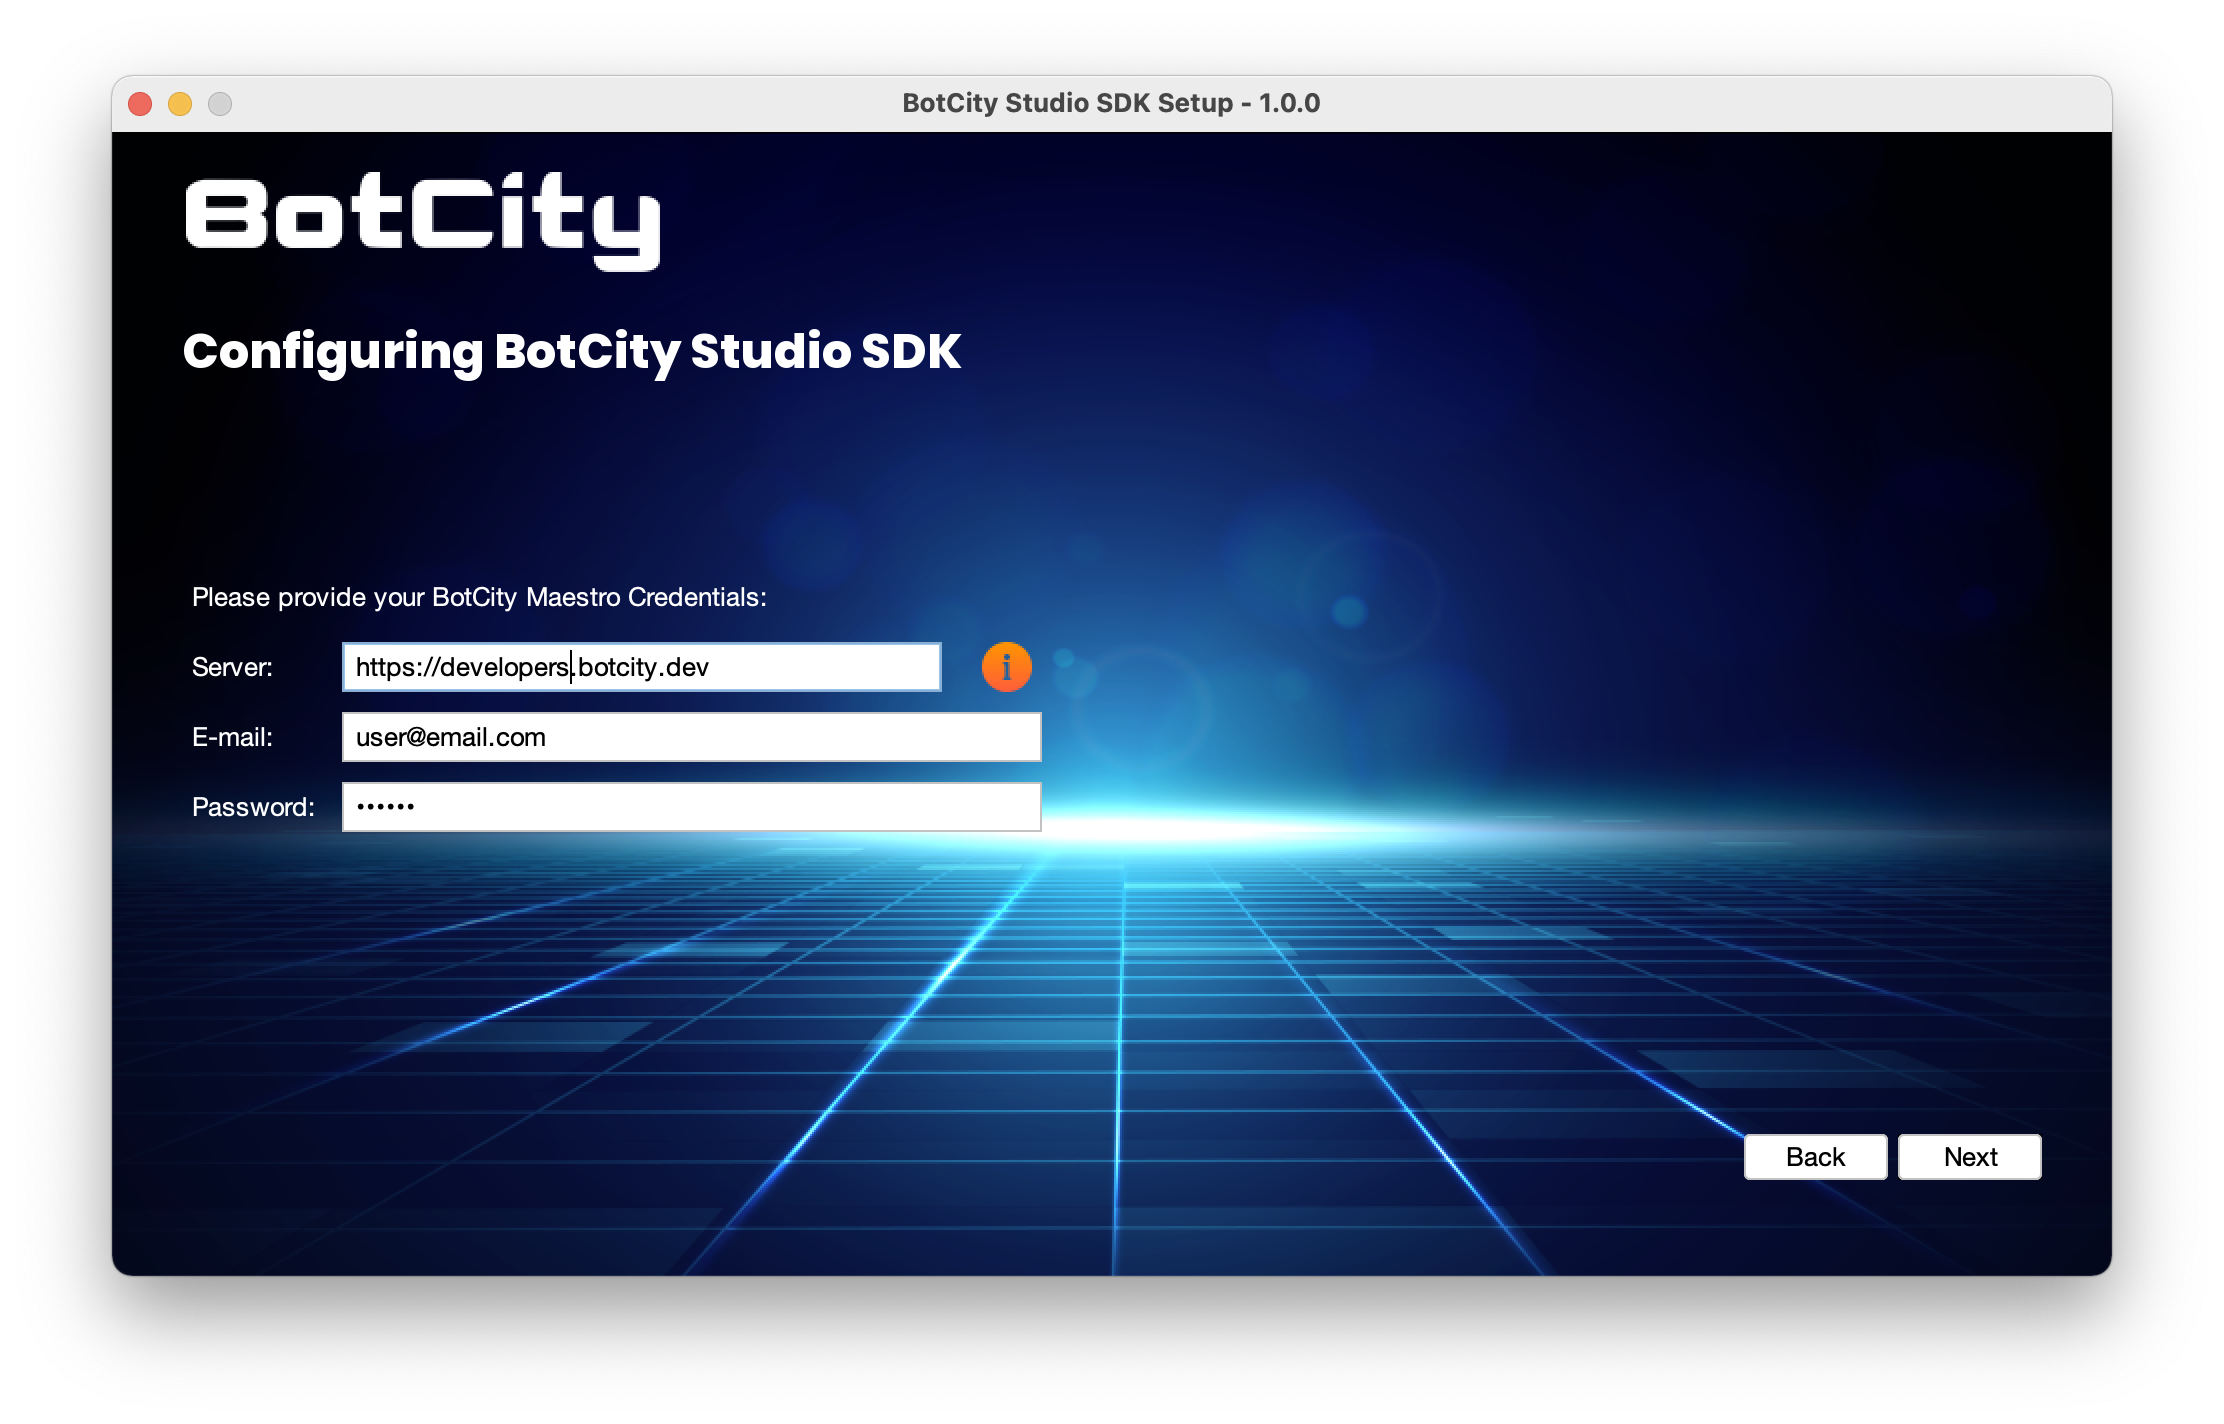
For Server make sure to always use your BotCity Orchestrator URL.
If you have a custom subdomain it is very likely that your URL will be something like https://yourcompany.botcity.dev.
For the community version, please use https://developers.botcity.dev.
A new page will open in your browser, allowing you to log into your account.
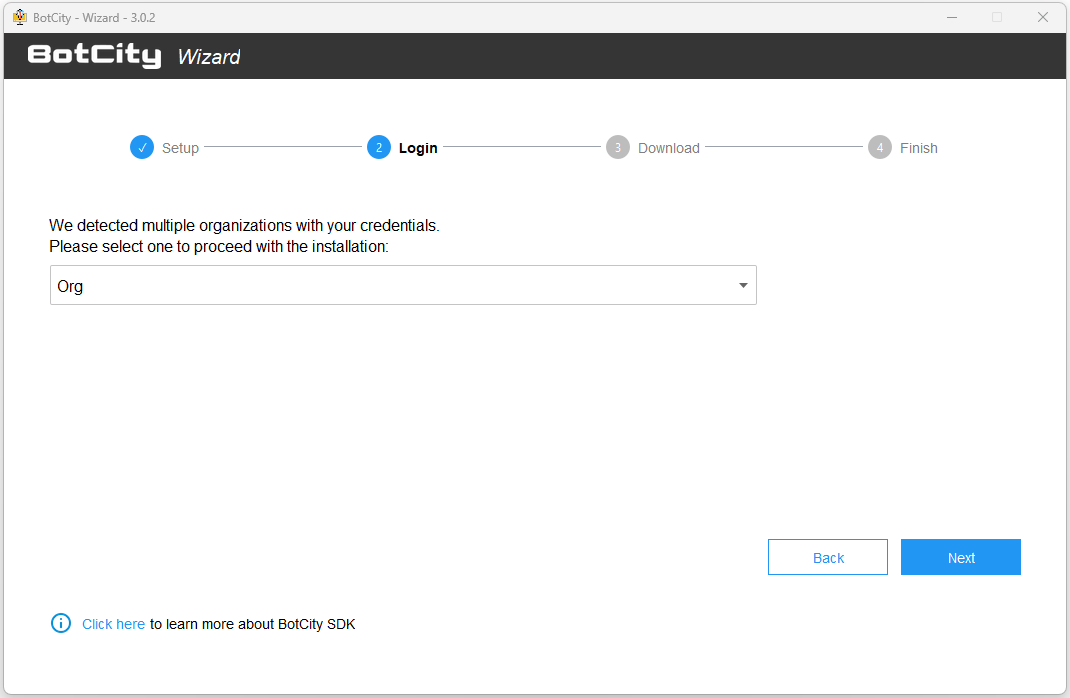
If you have multiple organizations under the same account, you will be prompted to select one.
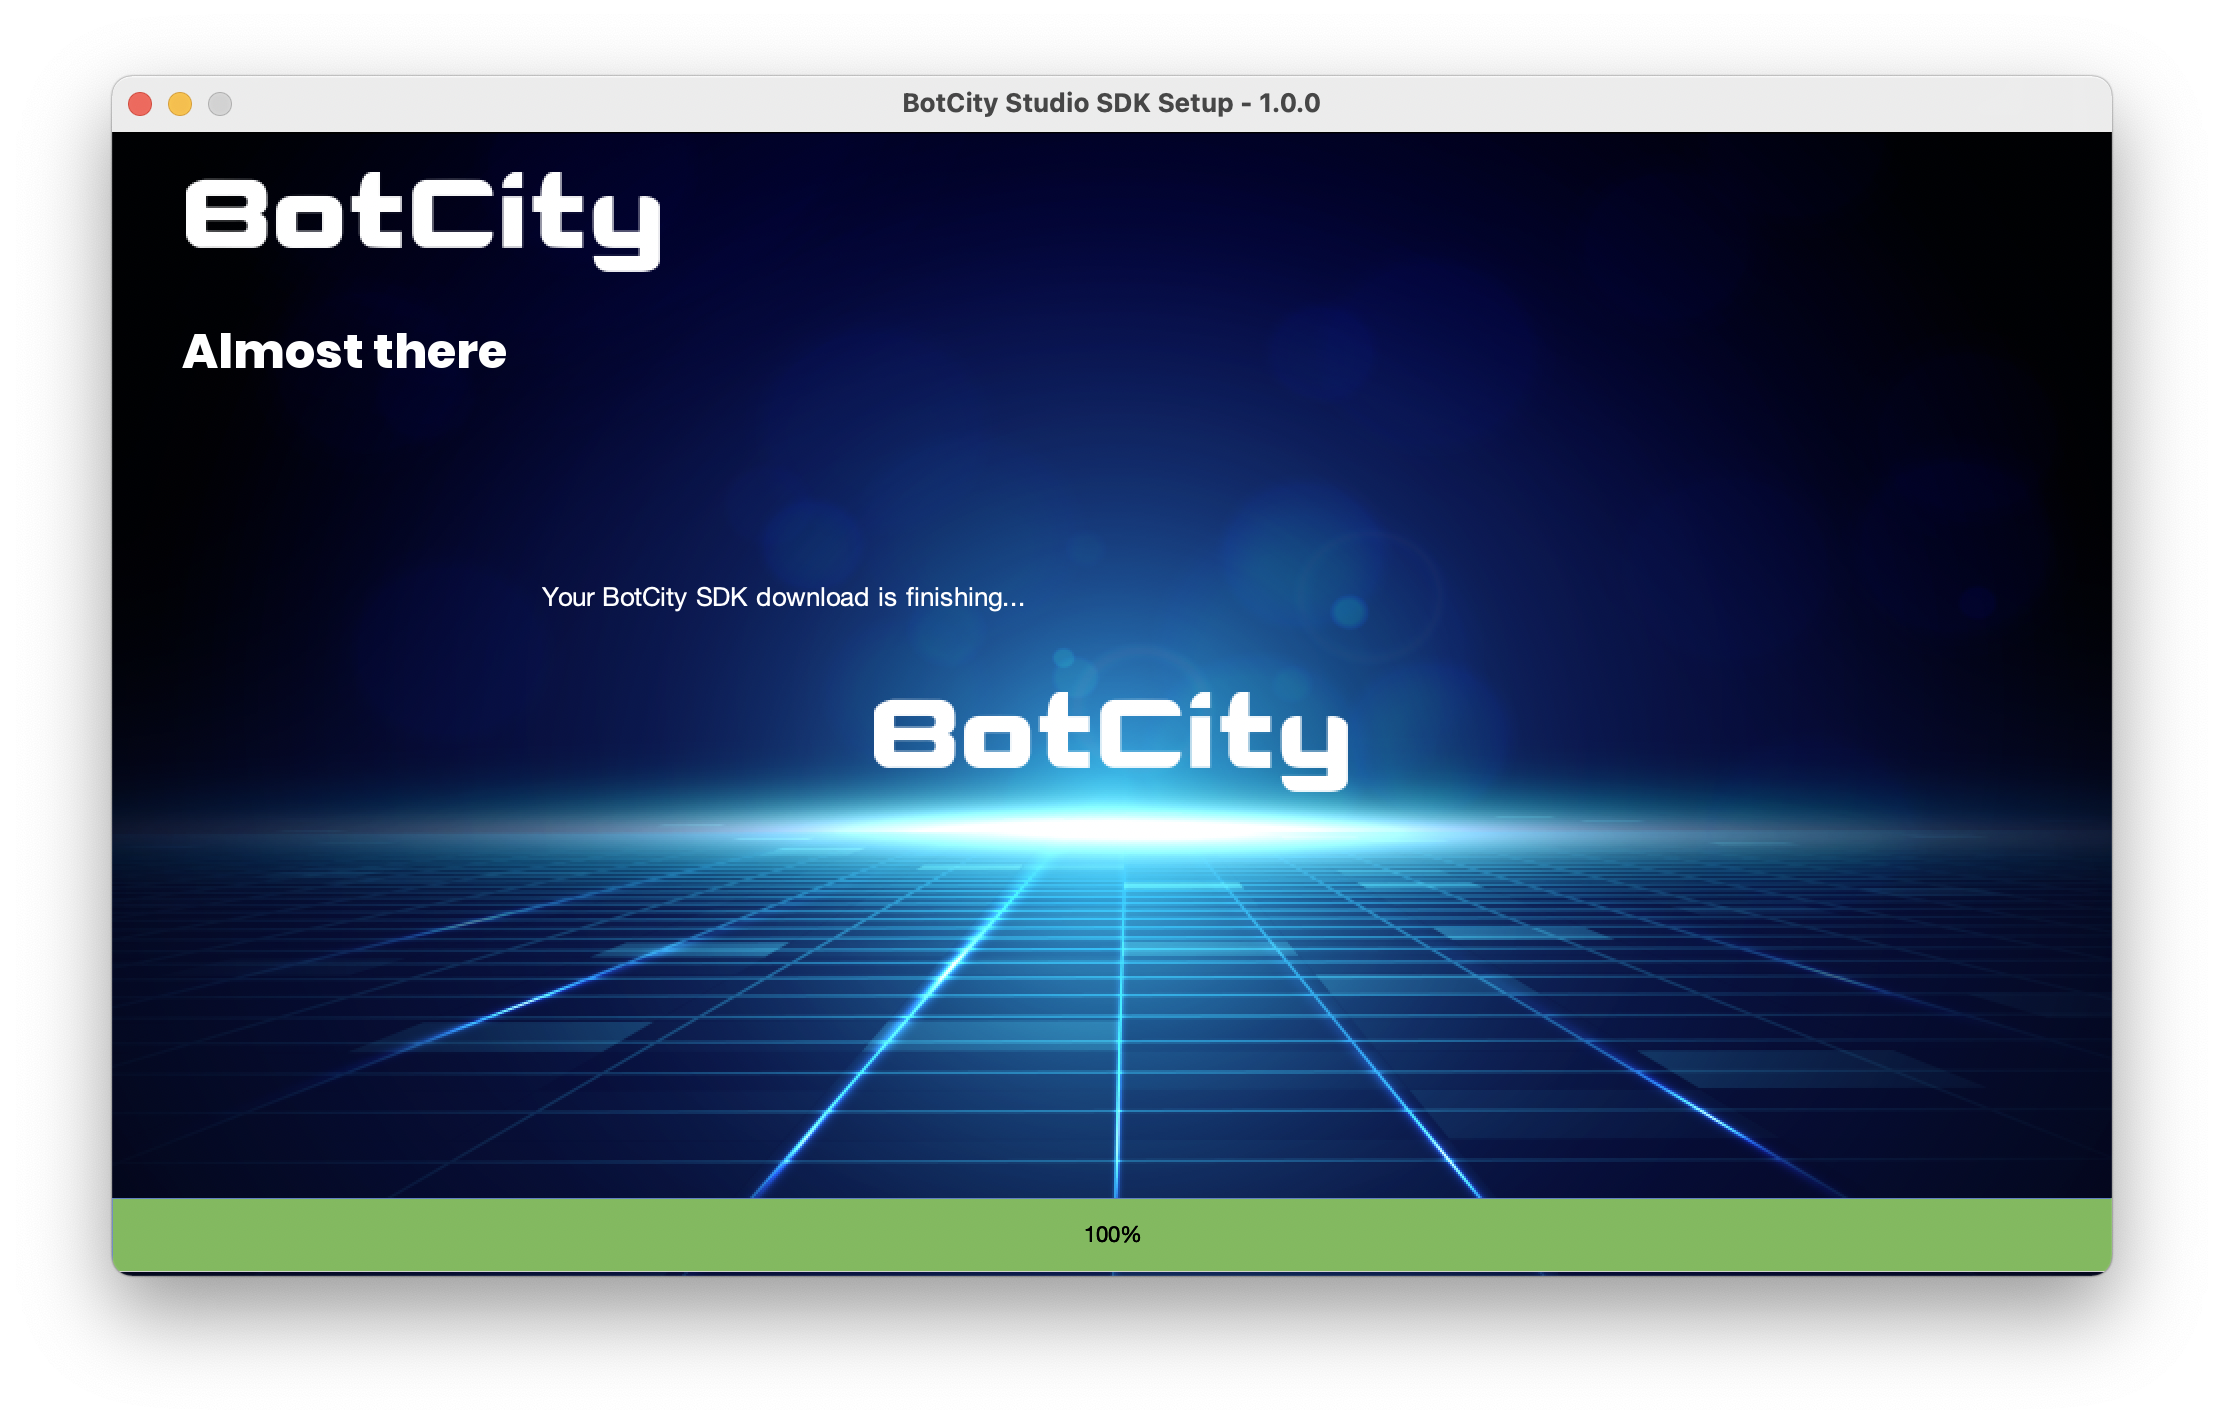
Almost there
Please wait while the download finishes and the SDK is being configured.
You are ready to go 🚀
Tip
A copy of the Wizard is now available on the folder in which the SDK was installed. You can always launch it from there and come back to this screen.
Configuring a BotCity Runner
After completing the SDK installation, you can configure a Runner in your execution environment using the Setup Runner option.
You can choose a Runner that already exists in your Orchestrator workspace or create a new one.
If this is the first time that you are installing it, we strongly recommend creating one so you can run your automations.
Tip
See more details in the section Configuring a Runner.
BotCity Wizard Actions
Here are some actions you can perform on the Wizard home screen:
- Change the version to a newer or previous version as well as to a
developmentversion - Configure a BotCity Runner
- Launch BotCity Studio
- Launch BotCity Runner as a background process or as a visual application (GUI)
- Open the folder in which the SDK was installed
Installing via command line (silent install)
Other way to install the SDK is by command line, informing the necessary parameters for the installation.
Installation commands
We can install it using the wizard install command and entering some parameters.
The simplest possible command is the one that informs only the required parameters email and password, which are used for authentication in the BotCity Orchestrator.
Tip
- It may be necessary to inform the version of the wizard in the command, if it is not found.
wizard-X.Y.Z install... - For Linux and macOS systems, add the java -jar command before the wizard command.
java -jar wizard-X.Y.Z.jar install ...
To carry out the complete installation, with all parameters, we can use the following command:
wizard install
  --dir "C:\BotCity"
  --server "https://developers.botcity.dev"
  --email "user@server.com"
  --password "bot32r$3usr74"
  --organization "superbots"
  --runner "vm-01"
Parameter table for the install command:
| Option | Required | Definition | Standard value |
|---|---|---|---|
| dir | No | Folder where the SDK will be installed | Depends on operating system |
| server | No | BotCity Orchestrator URL | https://developers.botcity.dev |
| Yes | User account email | ||
| password | Yes | User account password | |
| organization | No | Organization to be used (label) | First organization on the list |
| runner | No | Runner to be configured (machineId) | Empty |
Update commands
For update the SDK settings, we can use the wizard update command always informing the password parameter, the other parameters are optional. In addition to the installation parameters, we can inform the version parameter to update the SDK version.
Warning
When the version parameter is not informed, it will always be updated to the latest version of the SDK.
We can inform only one optional parameter as in the example below (includes version update):
Or do a complete update, with all parameters as in the following example:
wizard update
  --server "https://developers.botcity.dev"
  --email "user@server.com"
  --password "bot32r$3usr74"
  --organization "superbots"
  --runner "vm-01"
  --version "v2.16.5"
Tip
The SDK version can be checked in the setup.json file in the folder where the SDK was installed.
With this command we cannot change the installation location of the SDK, for this it is necessary to redo the installation.
Parameter table for the update command:
| Option | Required | Definition | Standard value |
|---|---|---|---|
| server | No | BotCity Orchestrator URL | Keeps the installed |
| No | User account email | Keeps the installed | |
| password | Yes | User account password | |
| organization | No | Organization to be used (label) | Keeps the installed |
| runner | No | Runner to be configured (machineId) | Keeps the installed |
| version | No | Version to be installed | Latest version |
Exploring the Contents
After finishing the SDK installation using one of the ways above, you will find the following folder structure:
.
├── bin
├── bots
├── conf
│   ├── conf.bcf
│   └── properties.json
├── logs
├── probes
├── run
├── scripts
├── startup
├── venvs
├── win32
│   └── java
├── .cookieCli
├── .workspaceCli
├── BotCLI.bat
├── BotRunner.bat
├── BotRunnerBackgroundWrapper.bat
├── BotRunner-gui.bat
├── BotStudio.exe
├── diagnostic.jar
├── install.log
├── setup.json
└── wizard-X.Y.Z.exe
On the root folder of the SDK, you will find the following files:
- .cookieCli: File for the BotCity CLI session cookie.
- .workspaceCli: Workspace file used by the CLI.
- bin: Folder containing the binary
.jarfiles of the BotCity SDK - BotCLI.bat/BotCLI.sh: Shortcut to use the BotCity CLI (command-line interface tool).
- BotRunner-gui.bat/BotRunner-gui.sh: Launcher for the BotCity Runner tool in graphical mode.
- BotRunner.bat/BotRunner.sh: Launcher for the BotCity Runner tool in headless mode.
- bots: Bot cache folder (internal use of BotCity Runner).
- BotStudio.exe/BotStudio.sh: Launcher for the BotCity Studio tool.
- conf: Folder containing the configuration files.
- conf.bcf: BotCity Studio configuration file.
- properties.json: BotCity Studio properties file (use the Preferences menu to edit values, not directly on the file).
- diagnostic.jar: Tool to validate the environment prerequisites for using BotCity tools.
- install.log: File produced by the Wizard containing installation log information.
- logs: BotCity Runner log storage folder.
- probes: Folder containing information about the Runner's communication time with the Orchestrator.
- run: Runtime folder for the BotCity Runner.
- scripts: Folder for storing scripts that can be executed by BotCity Runner.
- setup.json: File containing installation information, such as the SDK version installed and the access credentials used.
- startup: Folder containing a script that can be executed by BotCity Runner at initialization.
- venvs: Folder used by BotCity Runner to manage virtual environments for Python automations.
- win32: Folder containing the Java version used by the SDK.
- wizard-X.Y.Z.exe/wizard-X.Y.Z.jar: Copy of BotCity Wizard created inside the installation folder.
Configuration
The configuration for the BotCity Studio SDK is done via the conf.bcf file located in the "conf" directory.
Using the Wizard this file is automatically generated for you but you can still customize it to your own needs.
Let's take a look at the content of the conf.bcf file:
server=https://developers.botcity.dev
workspace=<Your Workspace Here>
key=<Your Key Here>
login=<Your Login Here>
machineId=<Your Machine ID Here>
logScreen=true
logApplication=true
- server: BotCity Orchestrator server URL.
- workspace: BotCity Orchestrator workspace.
- key: BotCity Orchestrator API key located on the
Dev. Environmentpage. - login: BotCity Orchestrator API User located on the
Dev. Environmentpage. - machineId: Machine ID of the current machine. See Machines.
- logScreen: Boolean option defining whether or not screenshots are periodically sent to the BotCity Studio.
- logApplication: Boolean option defining whether or not BotCity Runner logs are periodically sent to the BotCity Studio.
Testing Your BotCity Studio SDK
The easiest way to test your BotCity Studio SDK is to use the BotCity CLI tool.
For that, open a terminal on the folder containing the BotCity Studio SDK and run the following command:
If your BotCity Studio SDK is properly configured, you should see the following output:
Note
If you see a SUCCESS message followed by an ERROR message, it means that your BotCity Studio SDK is properly configured but you probably have no bots deployed yet.
Next Steps
You are now ready to start developing your BotCity automations.
Let's go to the next step and start developing your first bot.
