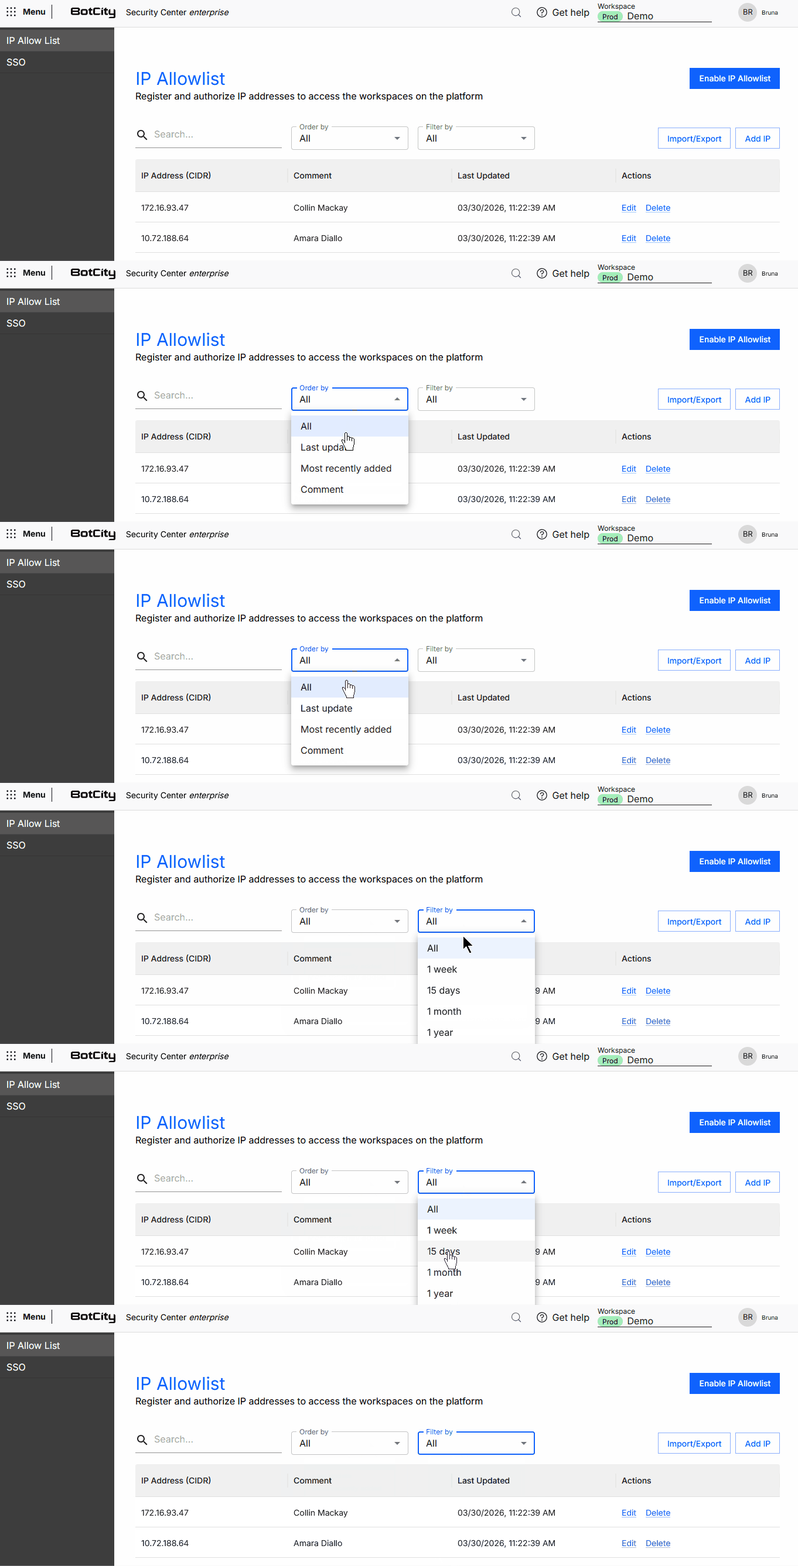
IP Allowlist
The IP Allowlist is an access control feature that restricts the use of the BotCity platform and API to a predefined set of IP addresses. When configured, only users originating from authorized IPs will be able to access the platform.
This feature is especially useful for organizations that want to ensure access occurs only from trusted corporate networks, such as:
- Internal company networks.
- Corporate VPNs.
- Environments with fixed and known IPs.
Who has access?
Only users with the Administrator role have access to this feature's settings.
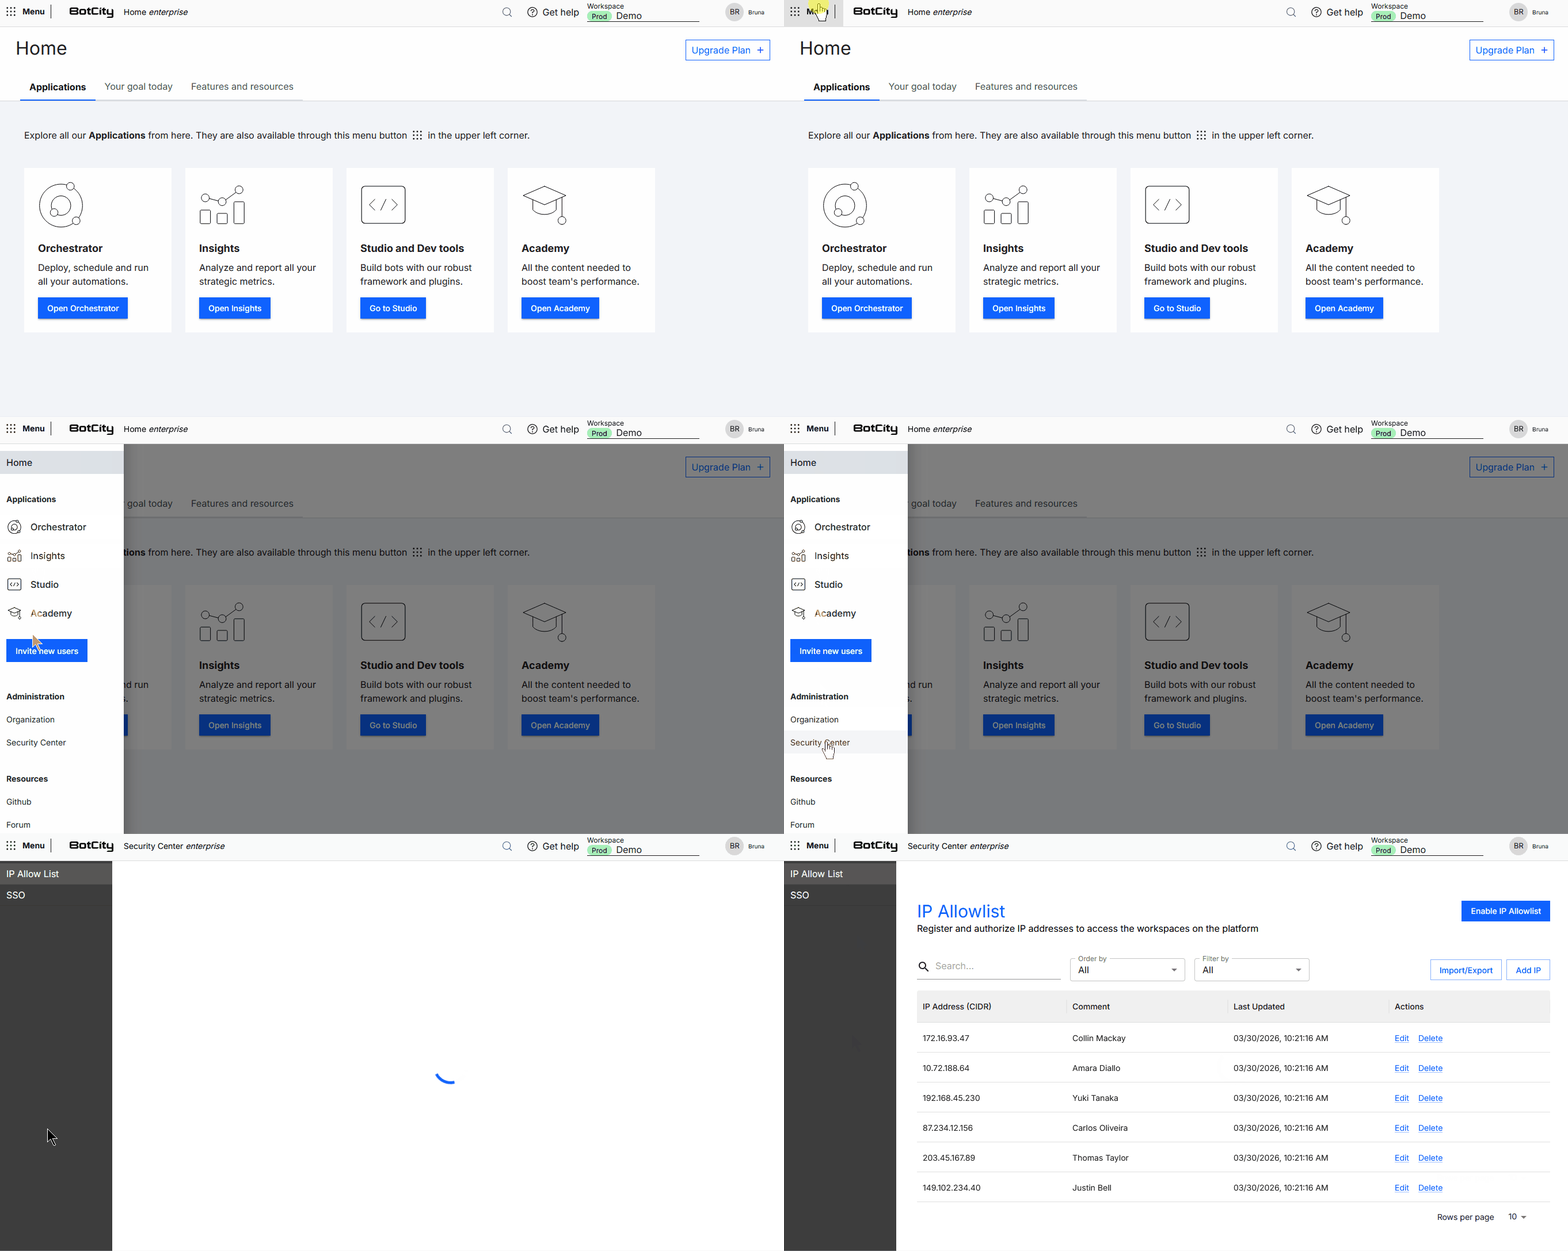
Actions
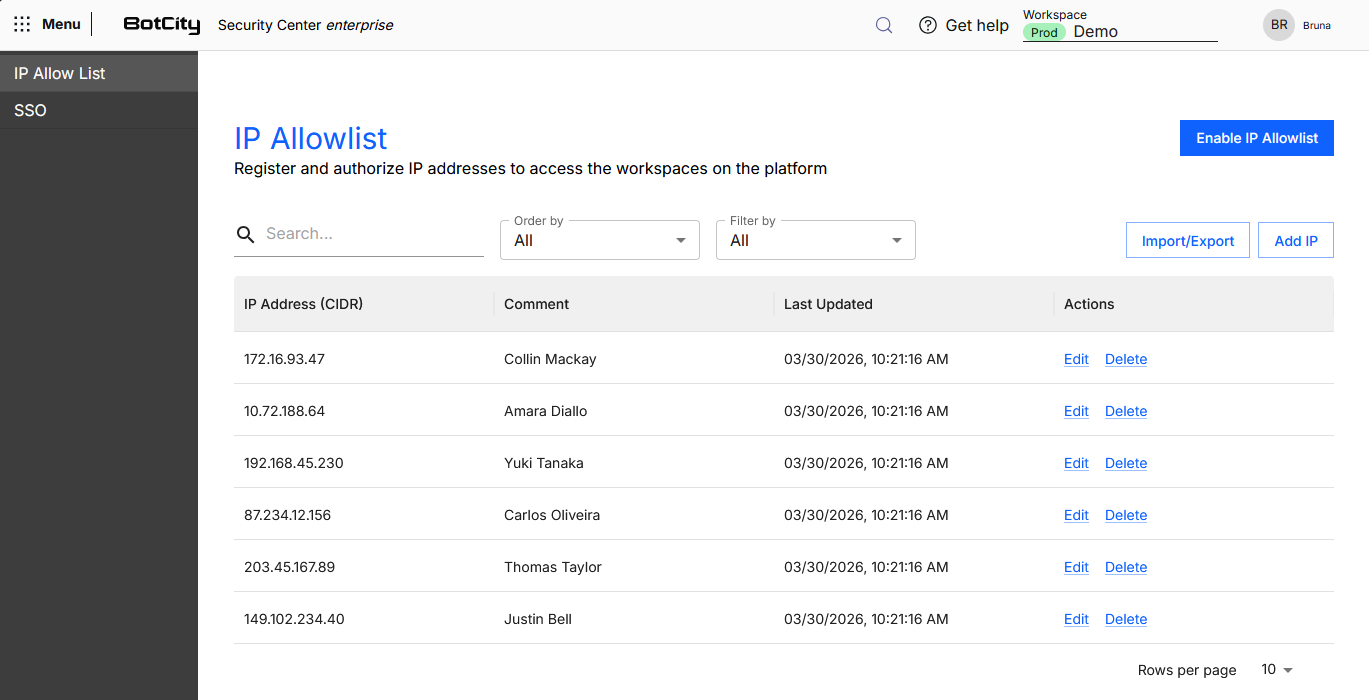
To manage the allowlist, follow the steps:
- Access the Global Menu
- Click on Security Center
- Access the IP Allowlist menu
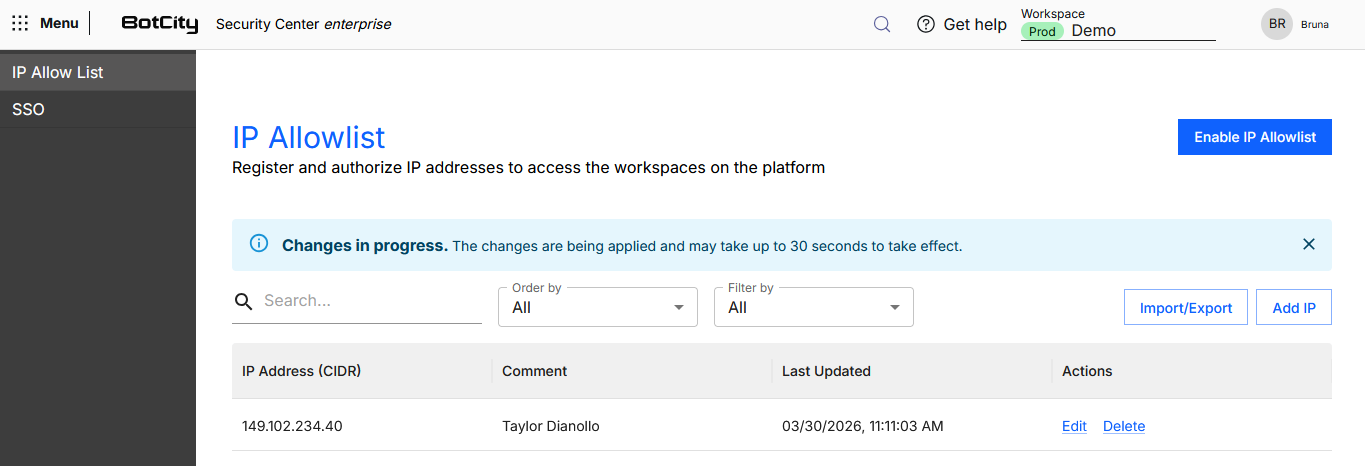
Changes in progress
Every action performed in this module may take up to 30 seconds to be applied. Consider this time when managing the list.
Add a single IP
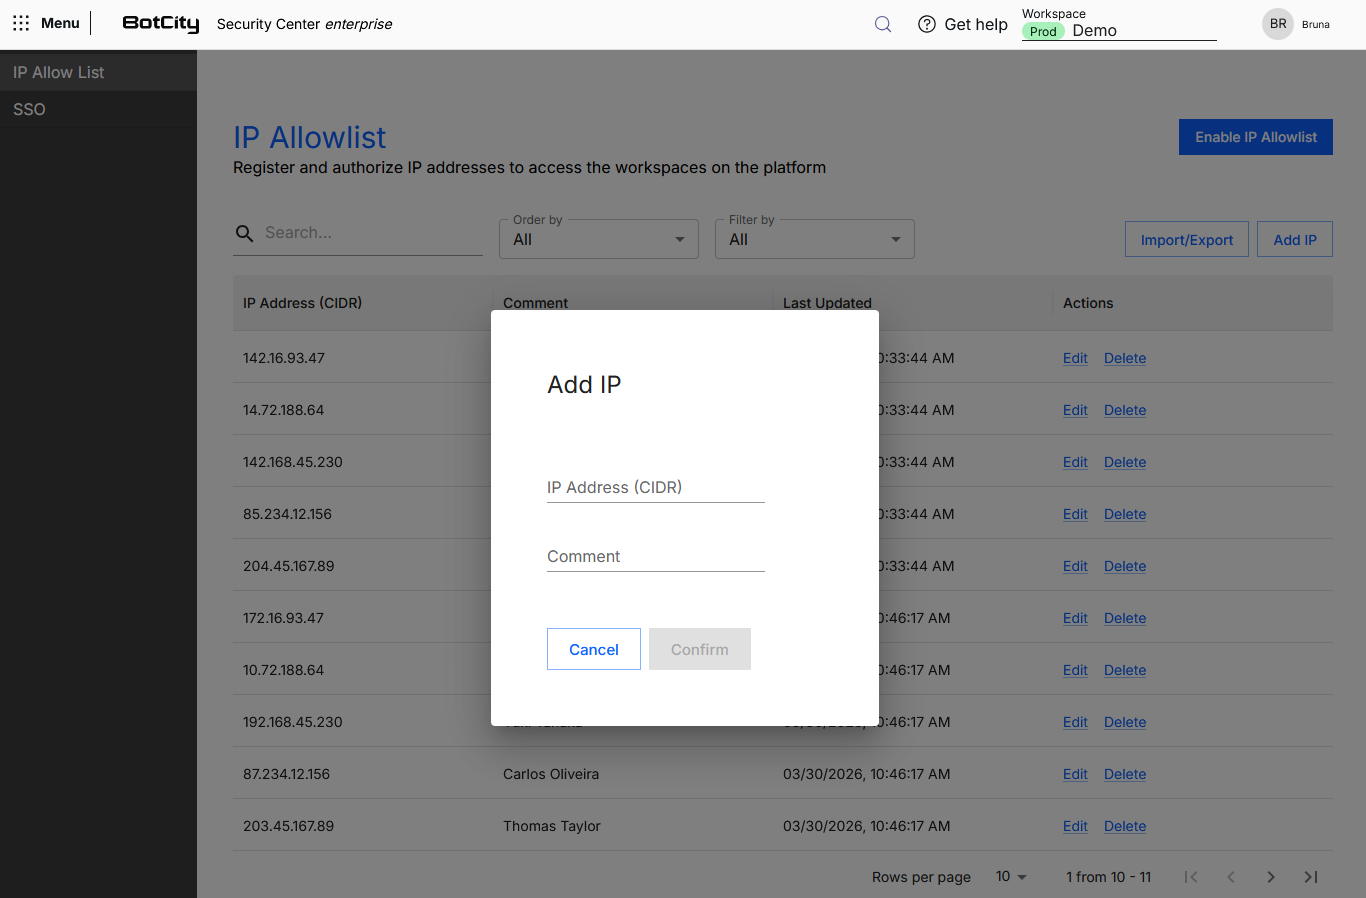
To add a single IP, click the Add IP button.
When the form opens, you need to fill in the following information:
- IP Address: IP number in the format
xxx.xxx.xxx.xxx/xxxx. - Comment: Custom information that makes it easier to identify the user or environment with permission.
After filling in, click Confirm, and the IP will be available in the allowlist.
Activation
After filling in the list, follow the Activation step.
Add a list of IPs
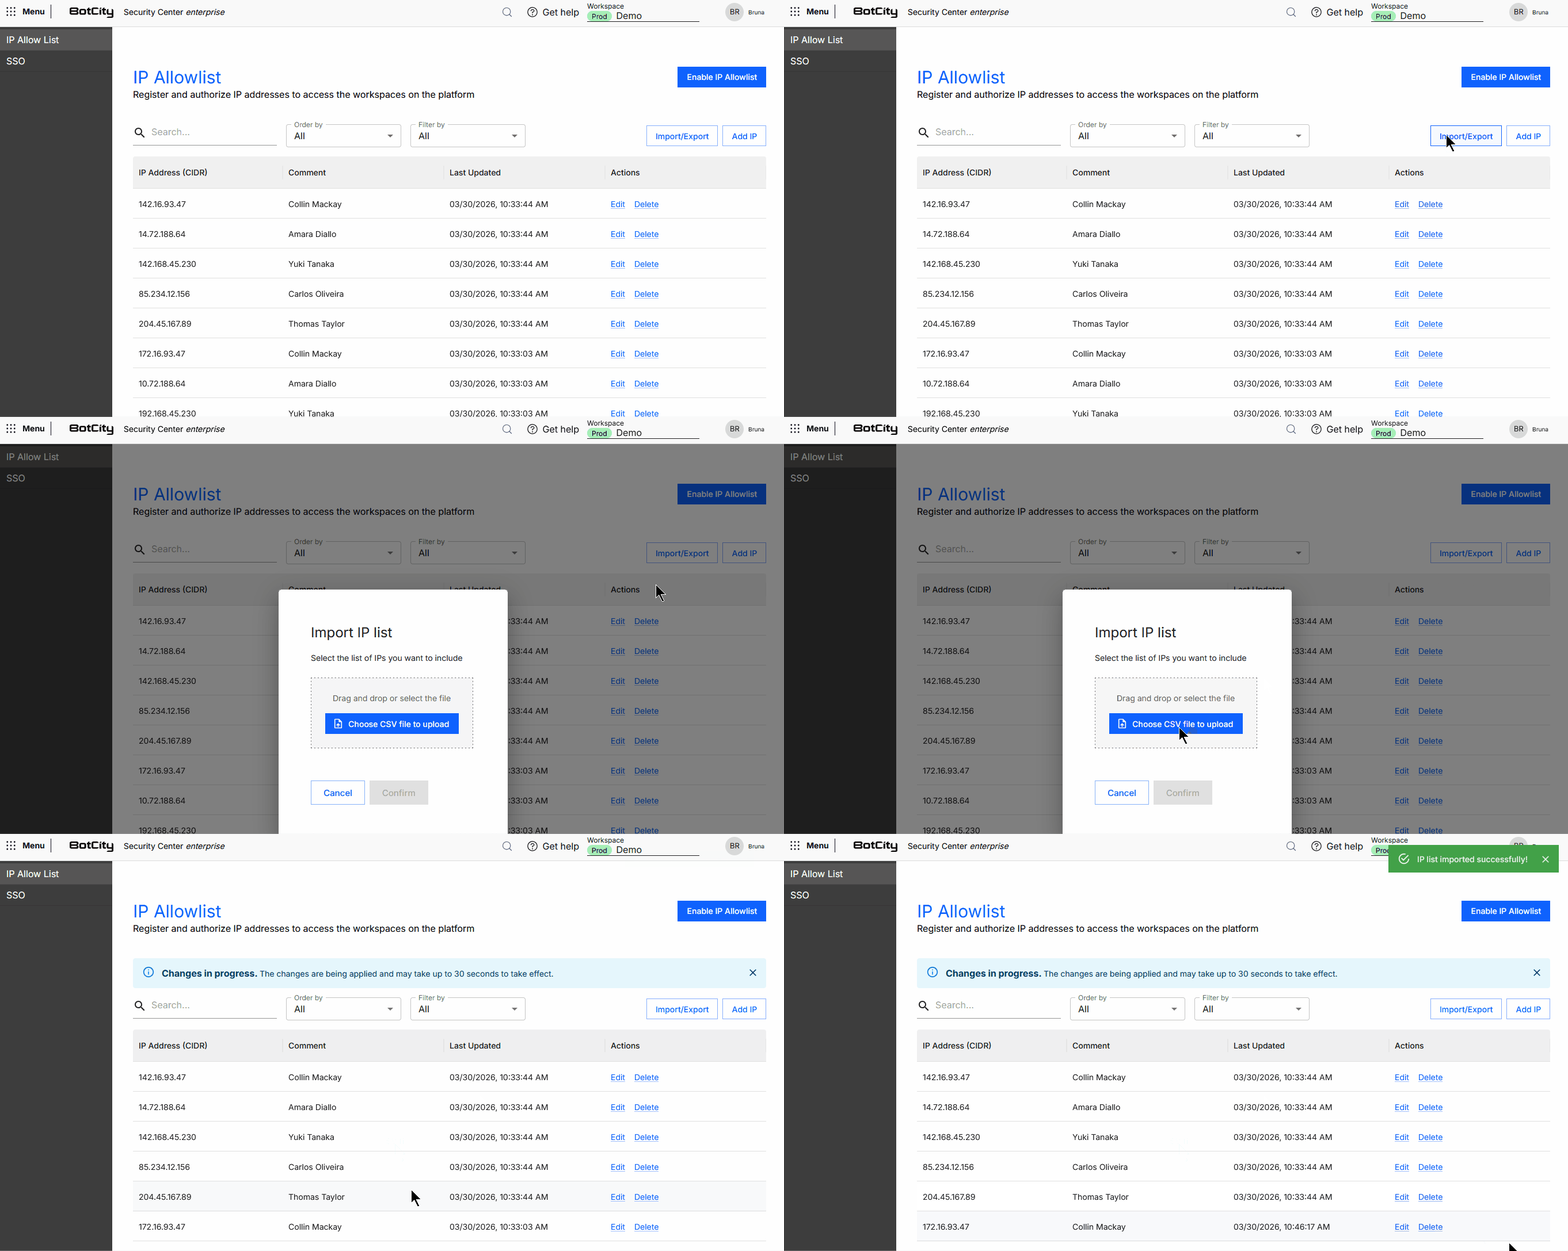
To add a list of IPs from a .CSV file, click the Import/Export button and select Import CSV.
The file must contain two columns, separated by a comma, with the following information:
- IP Address: IP number in the format
xxx.xxx.xxx.xxx/xxxx. - Comment: Custom information that makes it easier to identify the user or environment with permission.
CSV Example
With the file ready, browse or drag the file to upload it and click Confirm, and the IP list will be available in the allowlist.
Activation
After filling in the list, follow the Activation step.
Export IP list
To export the registered IP list as a .CSV, click the Import/Export button and select Export CSV.
Edit an IP
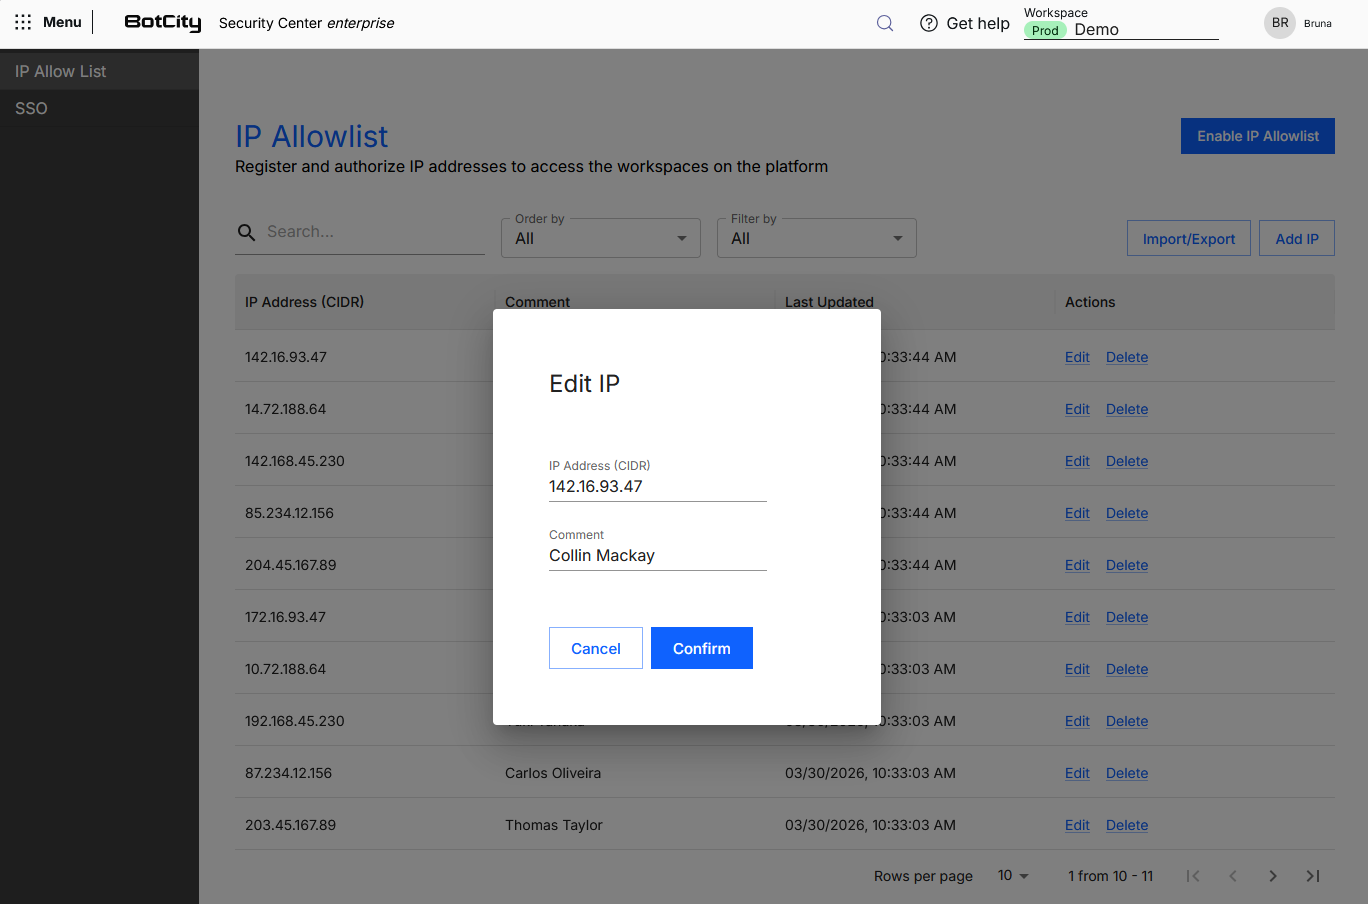
After an IP is added, you can edit the registered values whenever necessary by clicking Edit in the Actions column.
Delete an IP
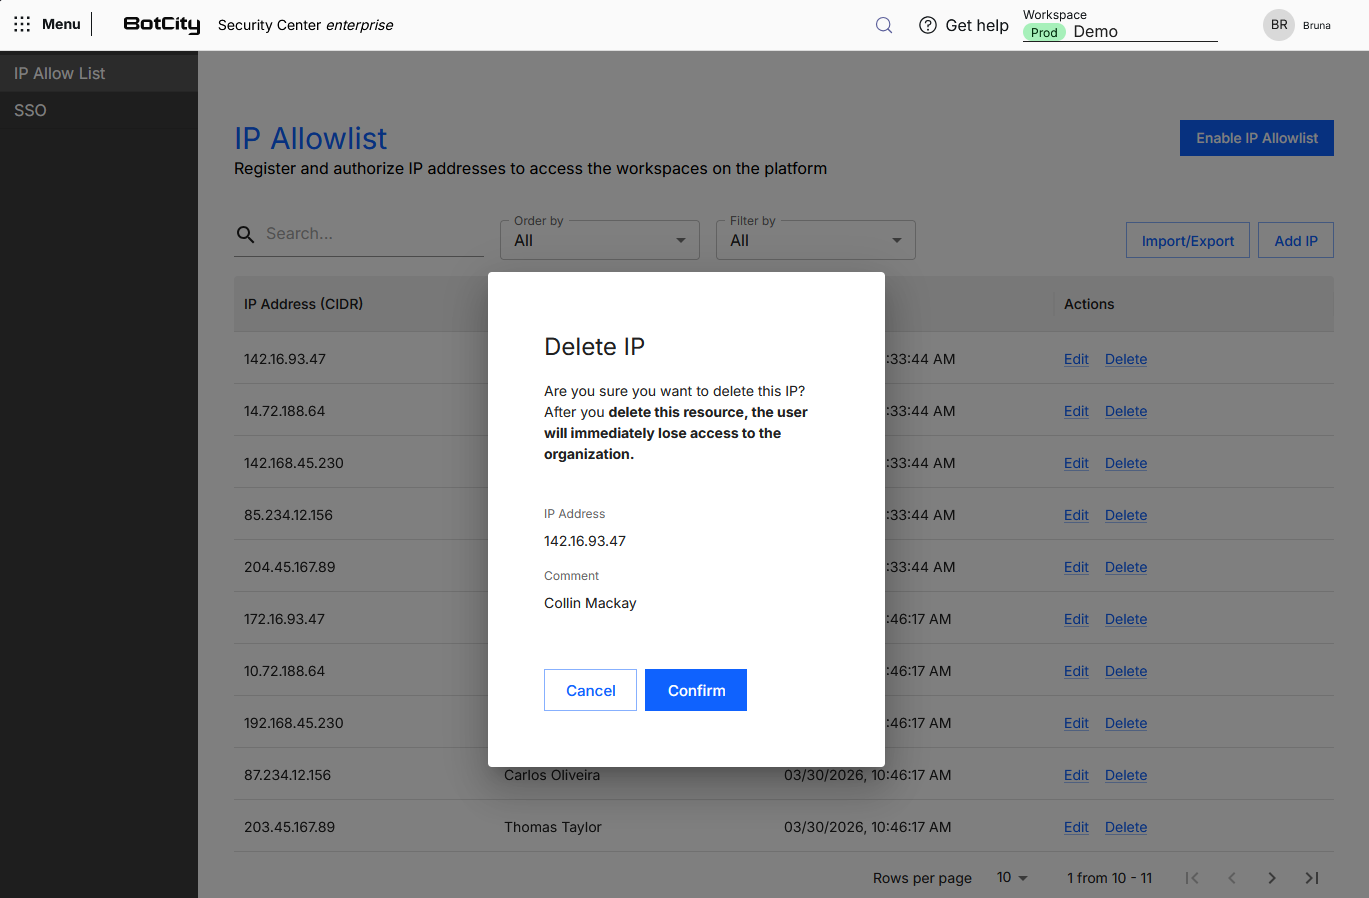
You can delete registered IPs whenever necessary by clicking Delete in the Actions column.
Enable and Disable
With the allowlist ready, you can activate the configuration by clicking the Enable allowlist button.
Once active, it can be disabled at any time by clicking the Disable allowlist button.
Important!
Make sure your own IP is on the list before enabling it. This action is necessary so that you do not lose access to access management and BotCity Products.
An alert will be visible at the top of the list while it is empty, with an Add my IP to the list button that makes this action easier.
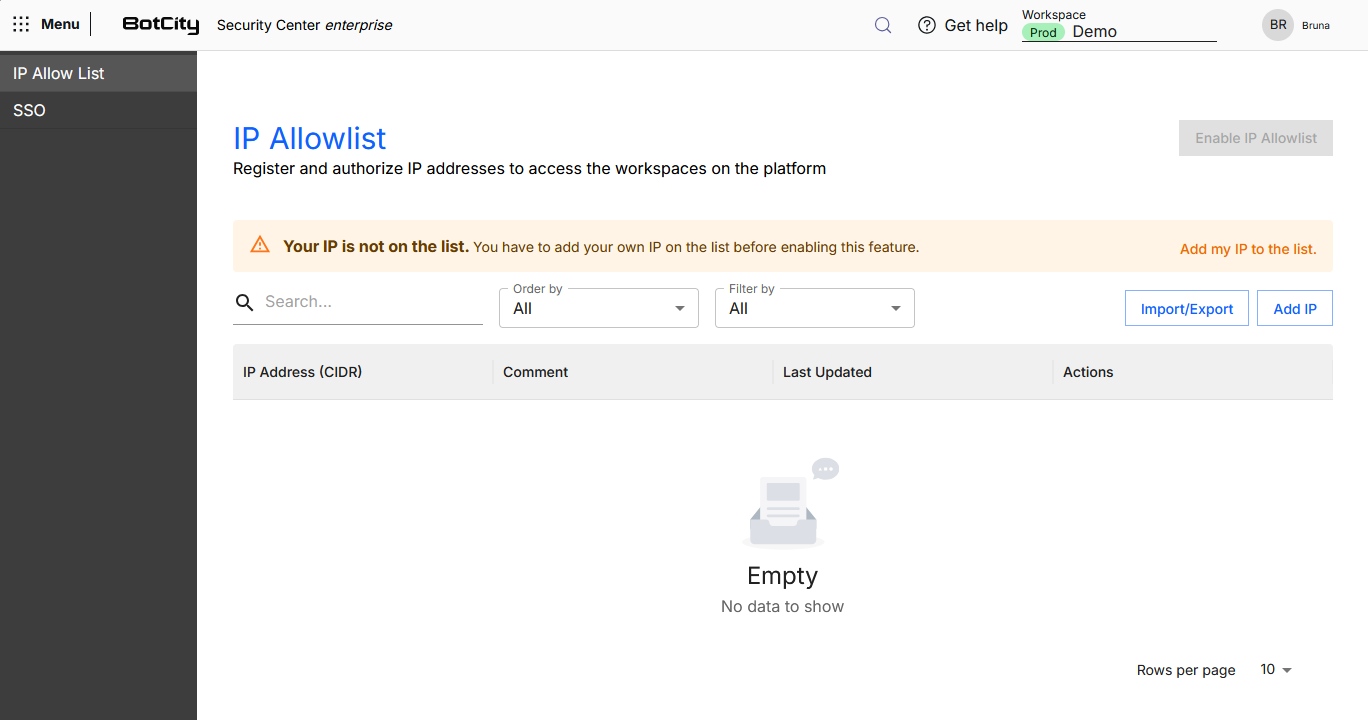
Activation time
The action of enabling or disabling the allowlist takes approximately 30 seconds to actually activate or deactivate. Consider this time when managing the list.
Search, Filter and Sort
To make it easier to find IPs, you can use the search, filter and sort menu.
When accessing the IP Allowlist menu, you can view the list with all registered IPs.
You can apply filters to search according to your needs.
Search by:
- Search Field: Type the
IPorComment.
Sort by:
- All
- Last updated
- Most recently added
- Comment
Available filters:
- Period: Select a period (
All,1 week,15 days,1 month,1 year).